
March 16, 1016
This post is for those interested in the paddle I have been building. I will walk through the process I have followed up until present day. Putting in 2+ hours everyday so far, all that is left to do is the final fiberglass and epoxy coats!
When I arrived in Hawaii, the paddle had already been milled and glued together for the sake of time. To glue it, the shaft, blade, and grip are first glued separately and then together. To get the bent shape of the shaft, the whole thing is set to cure with a wedge shoved under the bottom half. At this point everything is rectangular and referred to as a blank. My paddle is made out of bass and cherry.

(Not a picture of my paddle, but it shows what they look like after being glued together.)
This first thing I did was transfer a pattern onto the blade and cut that out on a bandsaw. This started the phase of giving everything a rough shape.
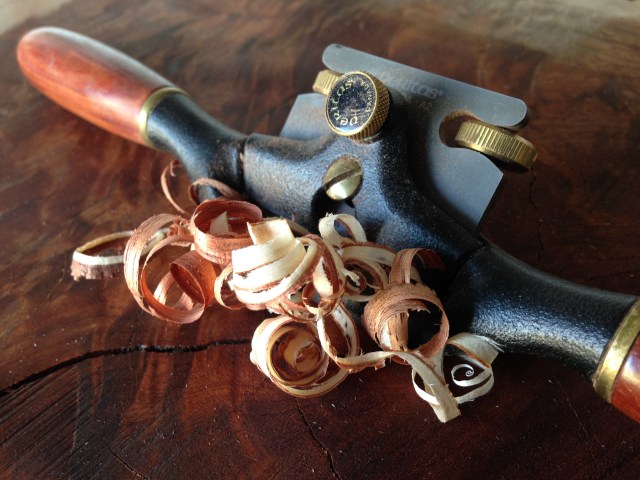
Next was to make reference lines on the shaft (which we made to .25 in from the center). Typically this is done with a router and a cove bit. Not something I know much about, but you would push the paddle through the router and it would shave of the edges until it had the shape you wanted. Instead of doing this, I went the conventional route and used a spoke shave.
This gave way to a much slower, but way cooler way of rounding the shaft. It adds to the value of the traditional paddle building, and forms these beautiful shaving curls.
Once the shaft has been shaved to the reference lines, taking on a nice egg shape, I rounded it out a bit more by buffing it with sandpaper.The nice thing about making my own paddle is that it can be fitted to my hands; a luxury for me since things tend to run slightly bigger than for optimal comfort.
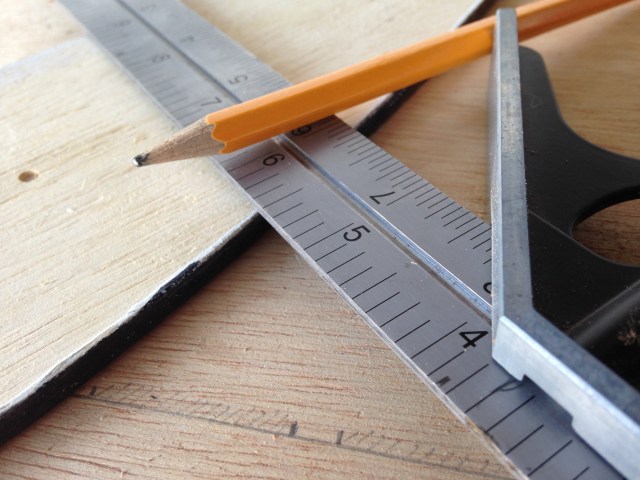
Going back to the blade, the next thing was to get the thickness down. I measured some more reference lines, this time on the depth of the blade. I taped a piece of string to the tick marks I had made, and then spray painted it. This gave a nice line to which I then shaved down to using the orbital. At this point the blade is about 3/16 in thick.

The amount of sawdust that came off from this part of the process was insane, and required a respirator in addition to safety goggles and hearing protection. This was even with the orbital being hooked up to a vacuum. I really enjoyed using the orbital though and it is easy to see progress with.
After the blade started looking like a blade, it was time to give the handle some love. Using a previous paddle from the shop, I traced the shape of the handle, cut it out using a bandsaw, and rounded its edges with the orbital.
When everything had its intended shape, it was time to fine tune it all. I talked a little bit about this in my previous blog post, but basically this phase required a lot of attention to detail and a lot of hand sanding. First I had to make sure that the blade cut was symmetrical. To do this, I measured from the center to the edge on each side for every 1/4in down the blade and then re-shaped it with the orbital. I also did one last round on the orbital to get any bumps out (places where it was much thicker). Then I went on to smooth out all of the transitions between the grip, shaft, and blade so that the paddle became one. 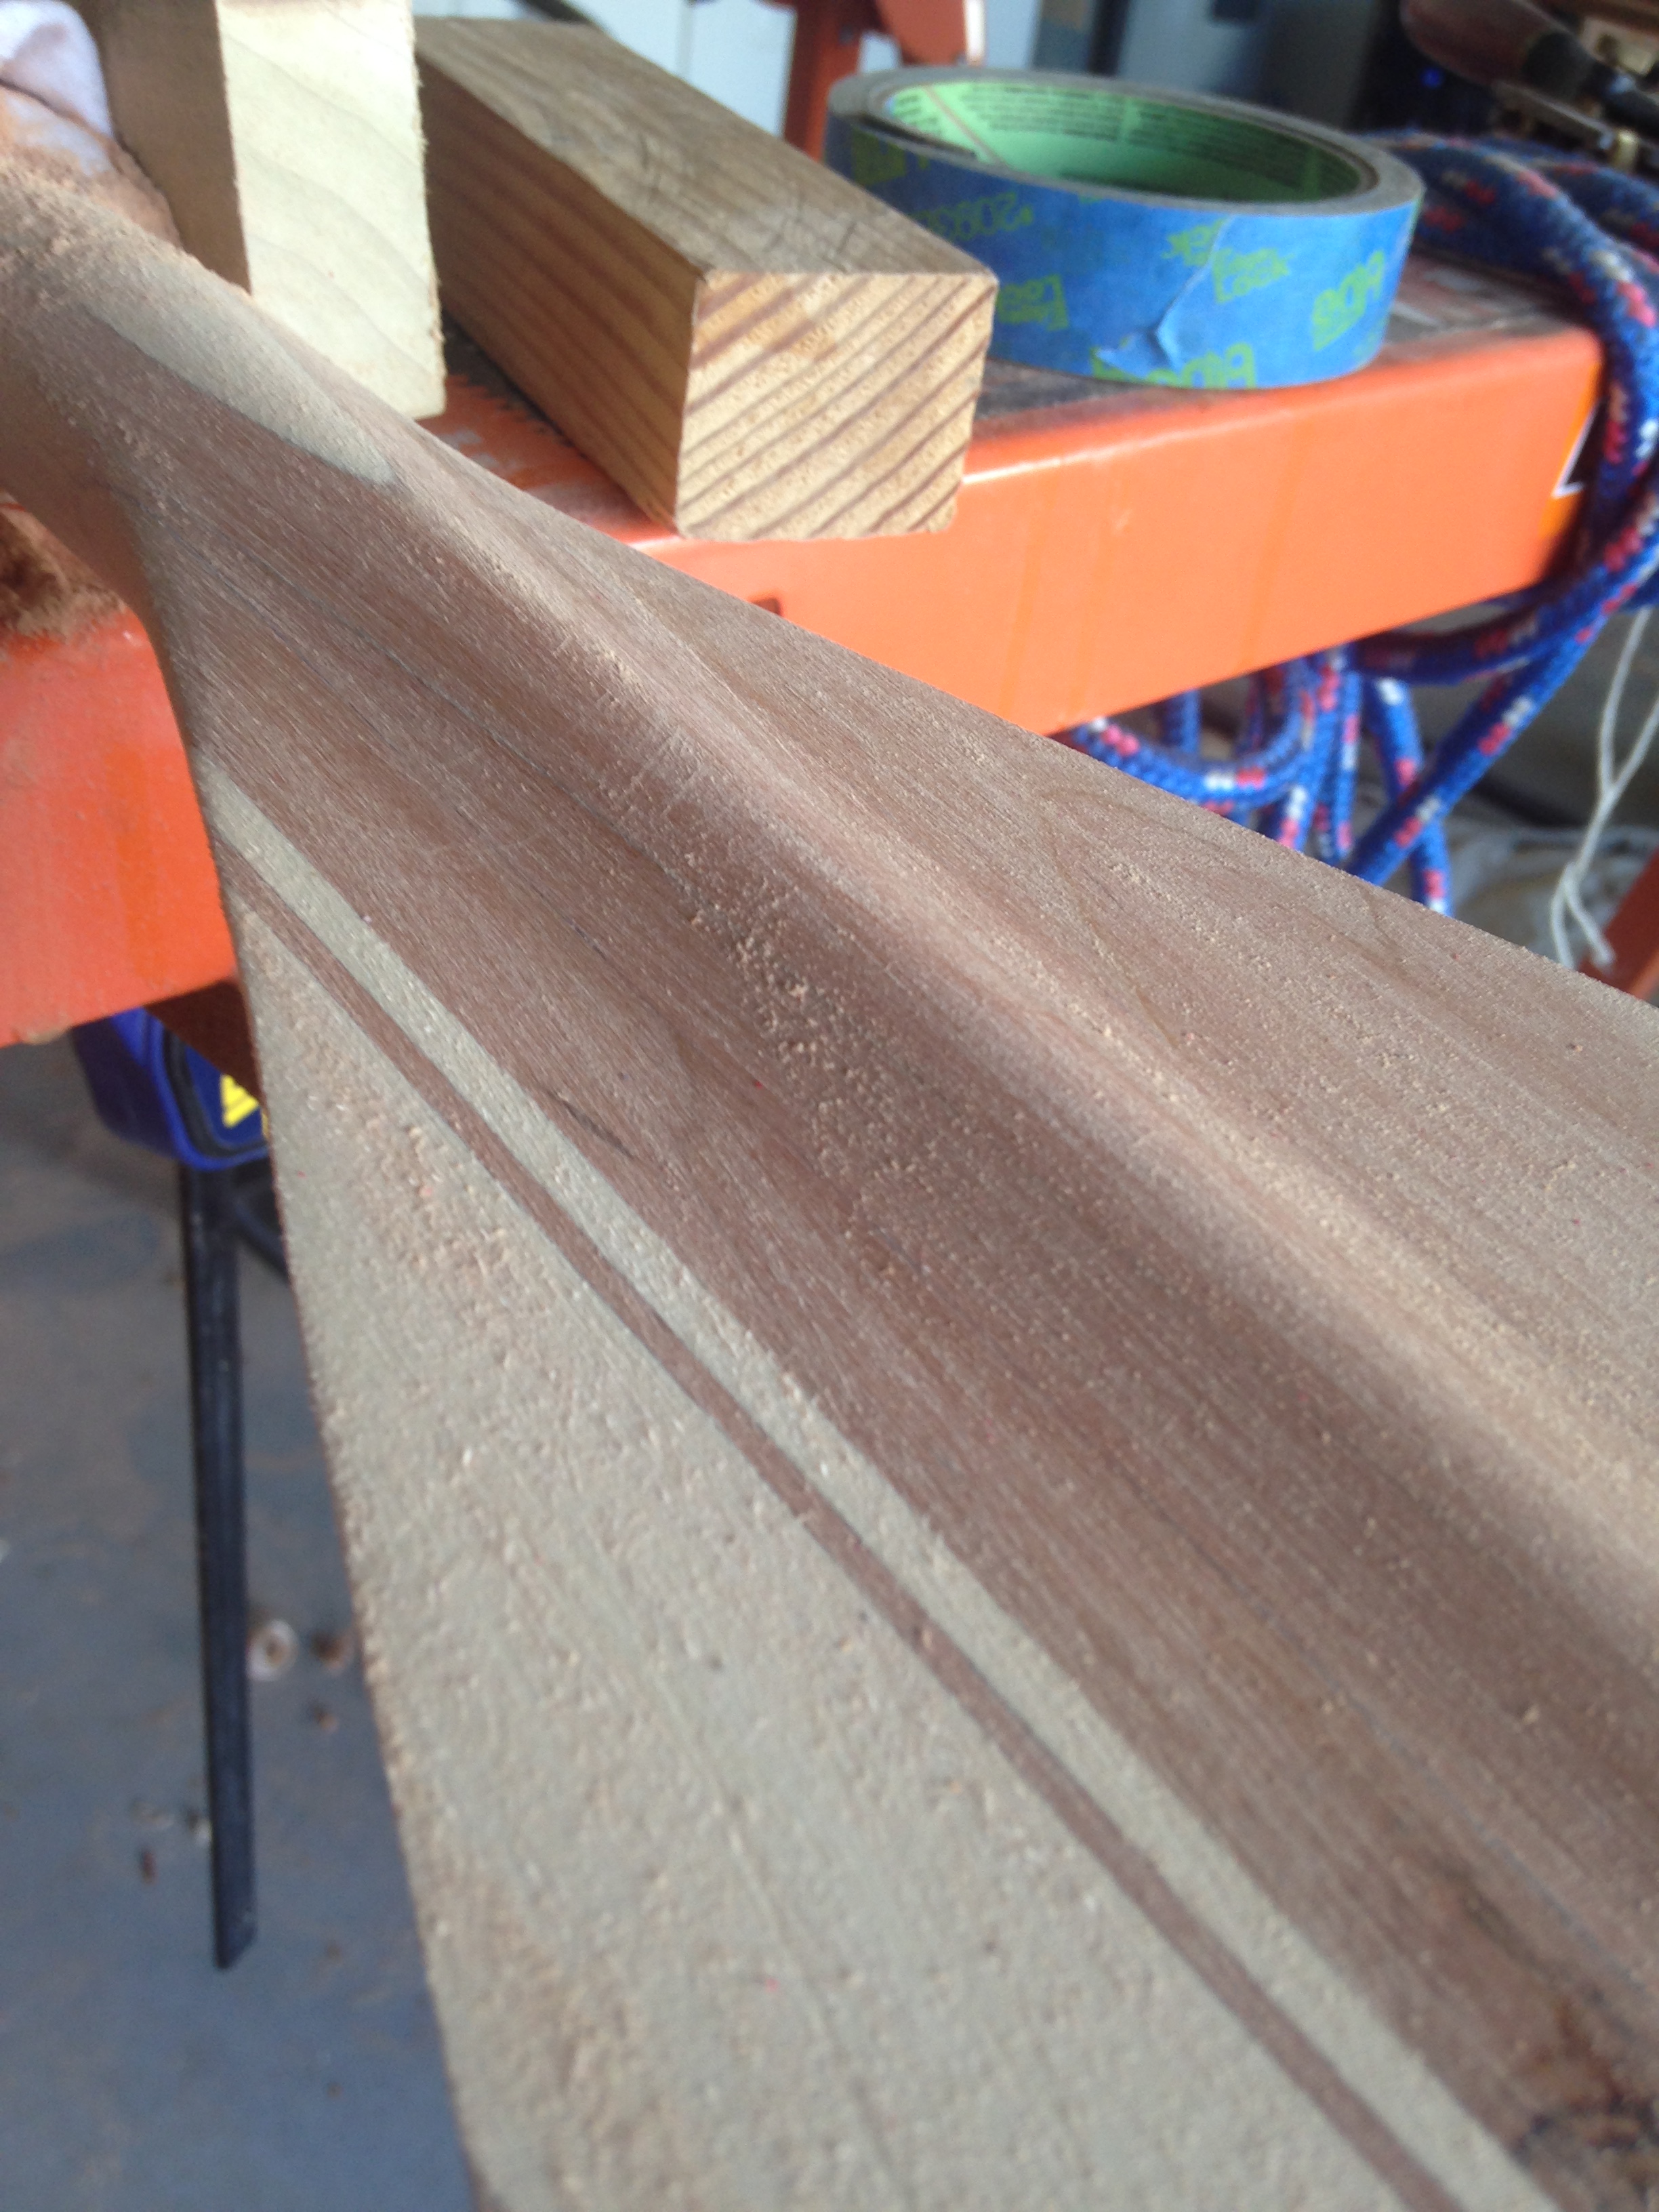

This was the longest part of the process because it required lots of continuous inspection and backtracking to make sure everything was even and flowed. You can see the stripes of different woods that we used, and to make sure that the thicknesses of the lines were uniform, especially on the shaft, is imperative for the paddle to come together and look like a polished, finished piece. ( The shaft is layered, and thus when shaped and sanded the layers start to show.) It took forever, but was worth the trouble in the end.
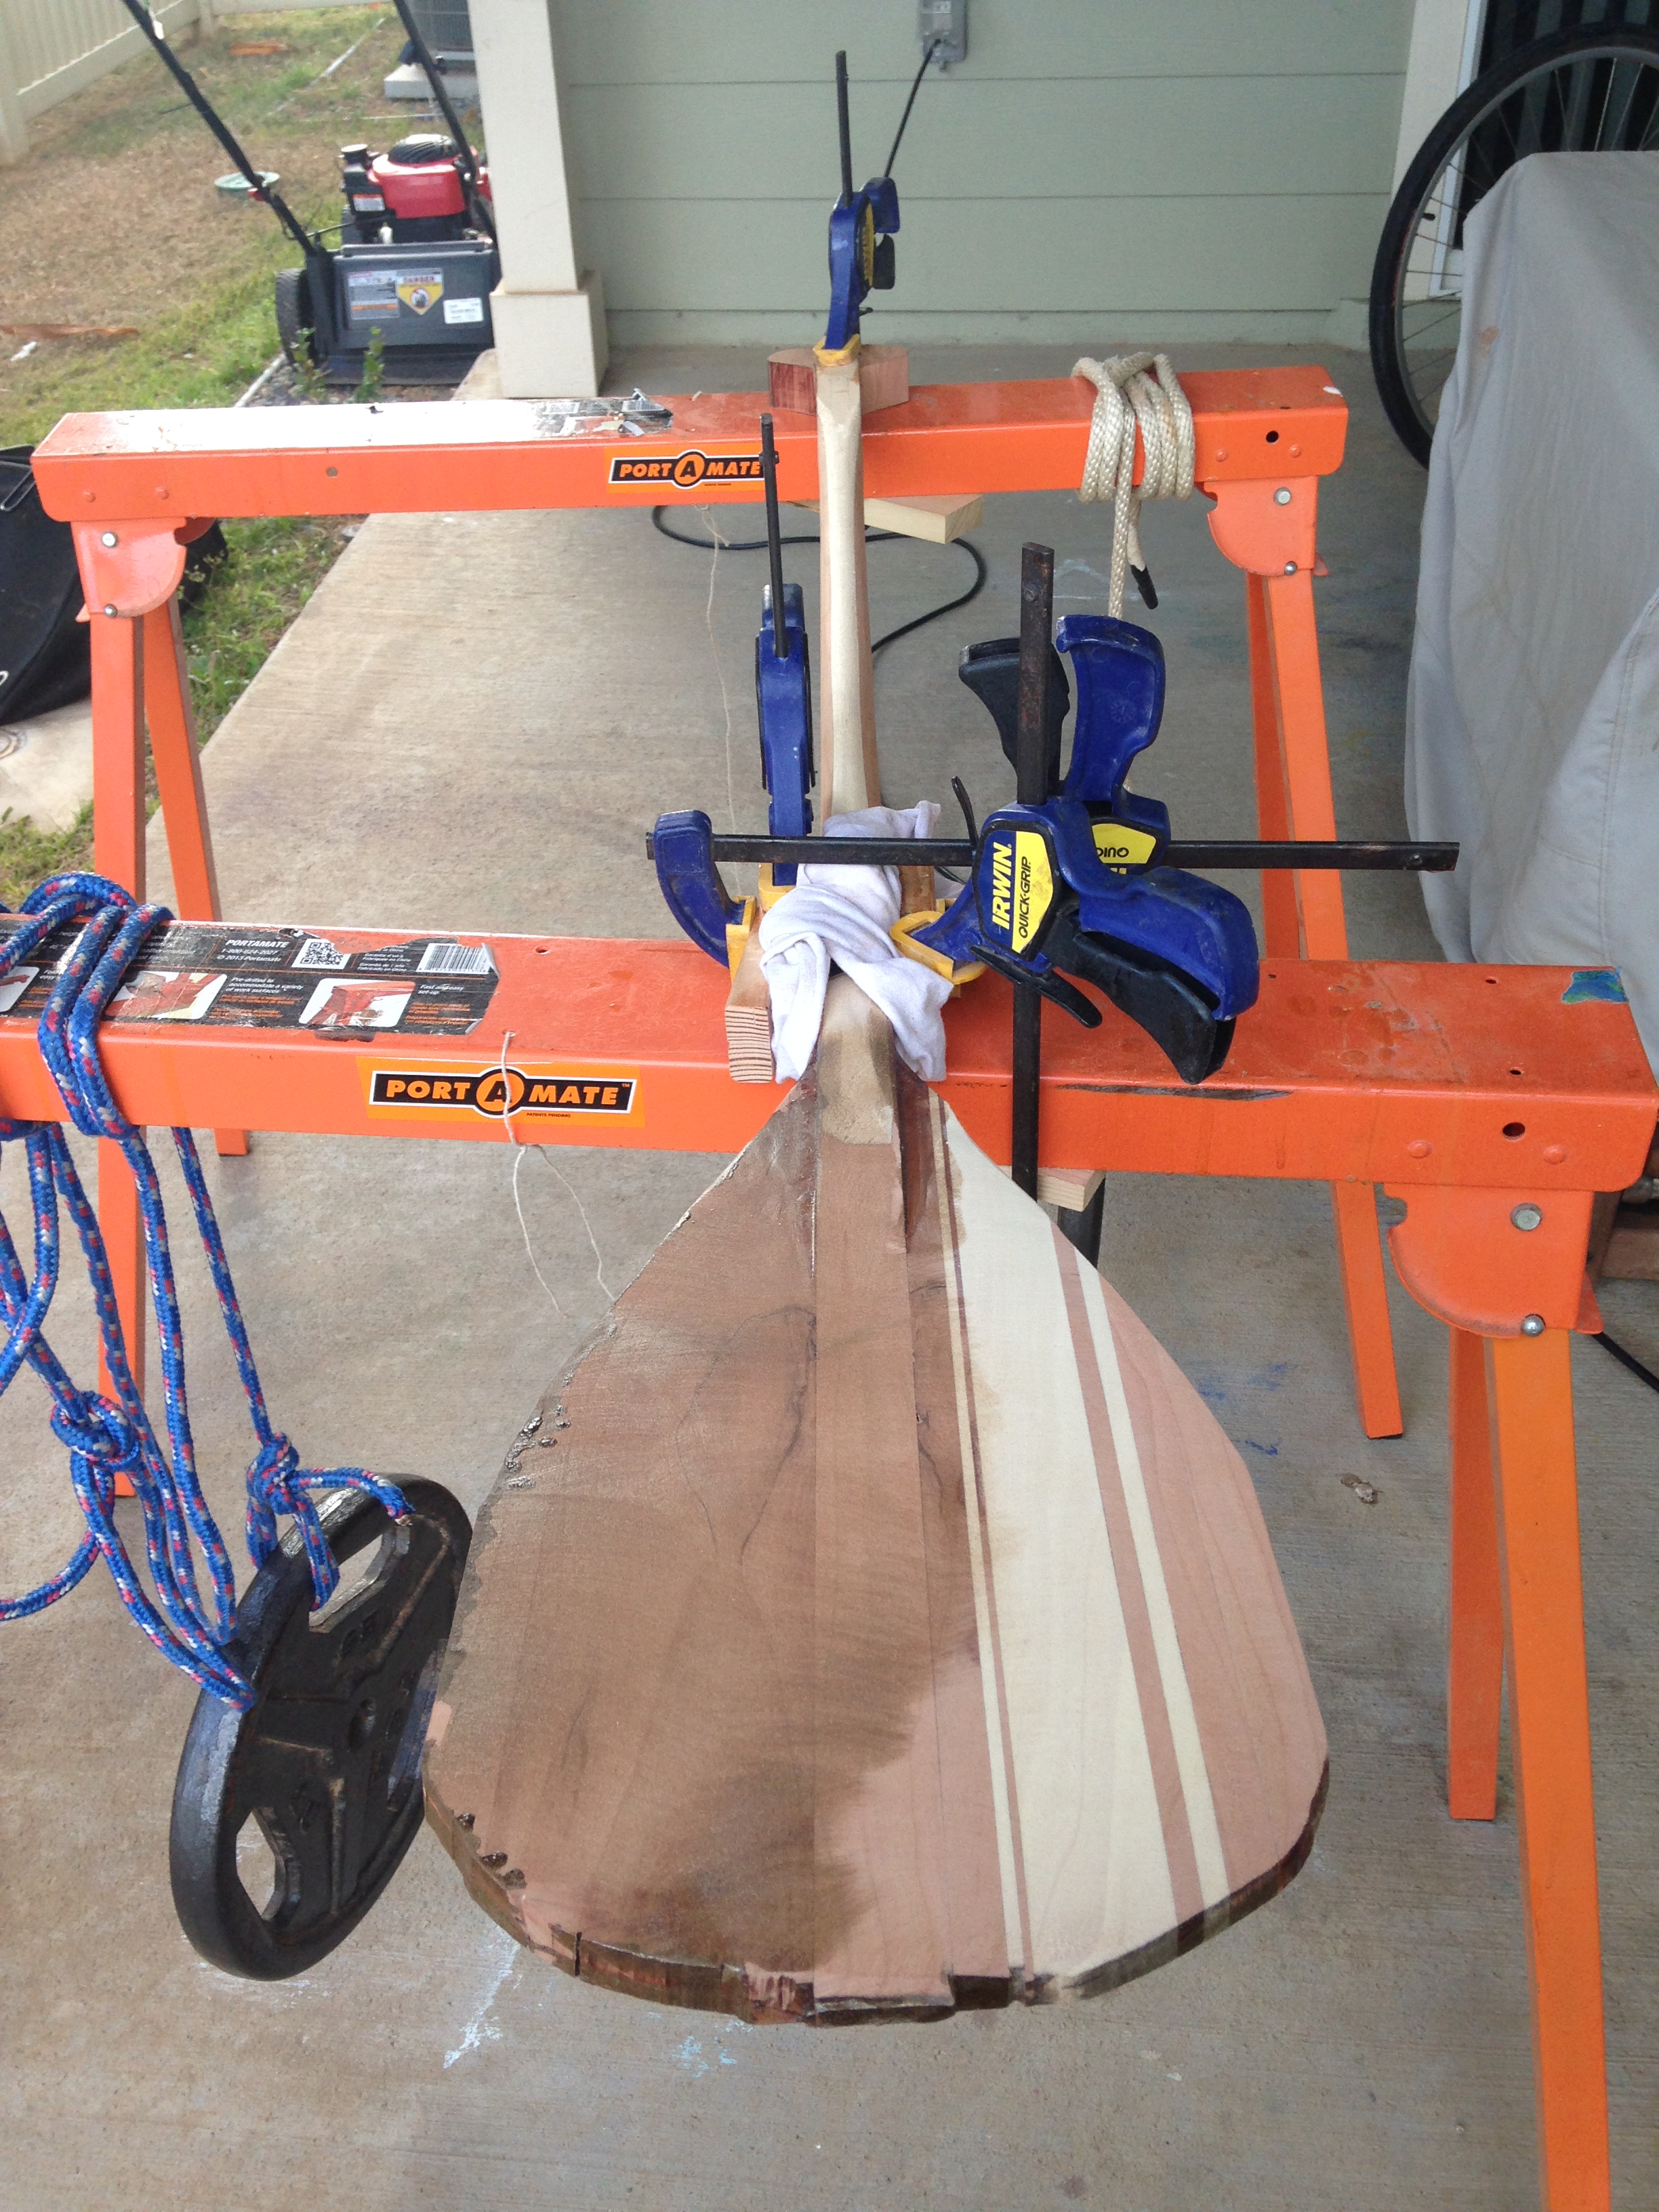
The last piece was to sand everything going from sandpapers 60, 100, 120 to 220 grit. Using the 100 grit smoothed the entire thing, taking out scratches from the 60 grit, then the 120 and 220, and finally a foam block. By the end, the wood became super smooth and felt great to the touch! Here is the almost finished product. The last thing to do will be to fiberglass and epoxy the whole thing so it is sturdier and does not absorb water. 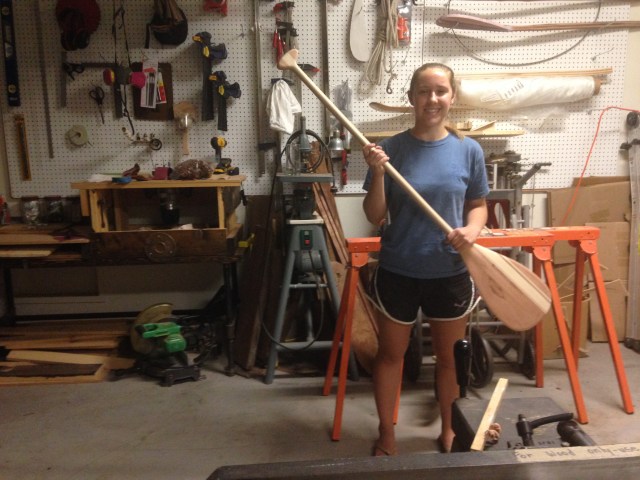
This has been a great project for me to work on. I have a solid background in wood working and tools, but I haven’t done a lot recently, and especially not without my dad. It is always a different experience doing things on your own compared to with your parents. I have reaffirmed my knowledge of “working in the shop” and learned some new tricks along the way. I can’t wait to finish this baby up and try it out!
If you are interested in these gorgeous, traditional paddles, the guy that has been coaching me through this has his own paddle business, so feel free to check out his Instagram page @elainepaddleco !
-Maddie
