Last time I posted, TourBot looked like this. I could have called it done and wired it but it would have been ugly. So I took it apart again and broke out the krylon…
After painting everything I put it back together,
admired my work, and started to wire it.
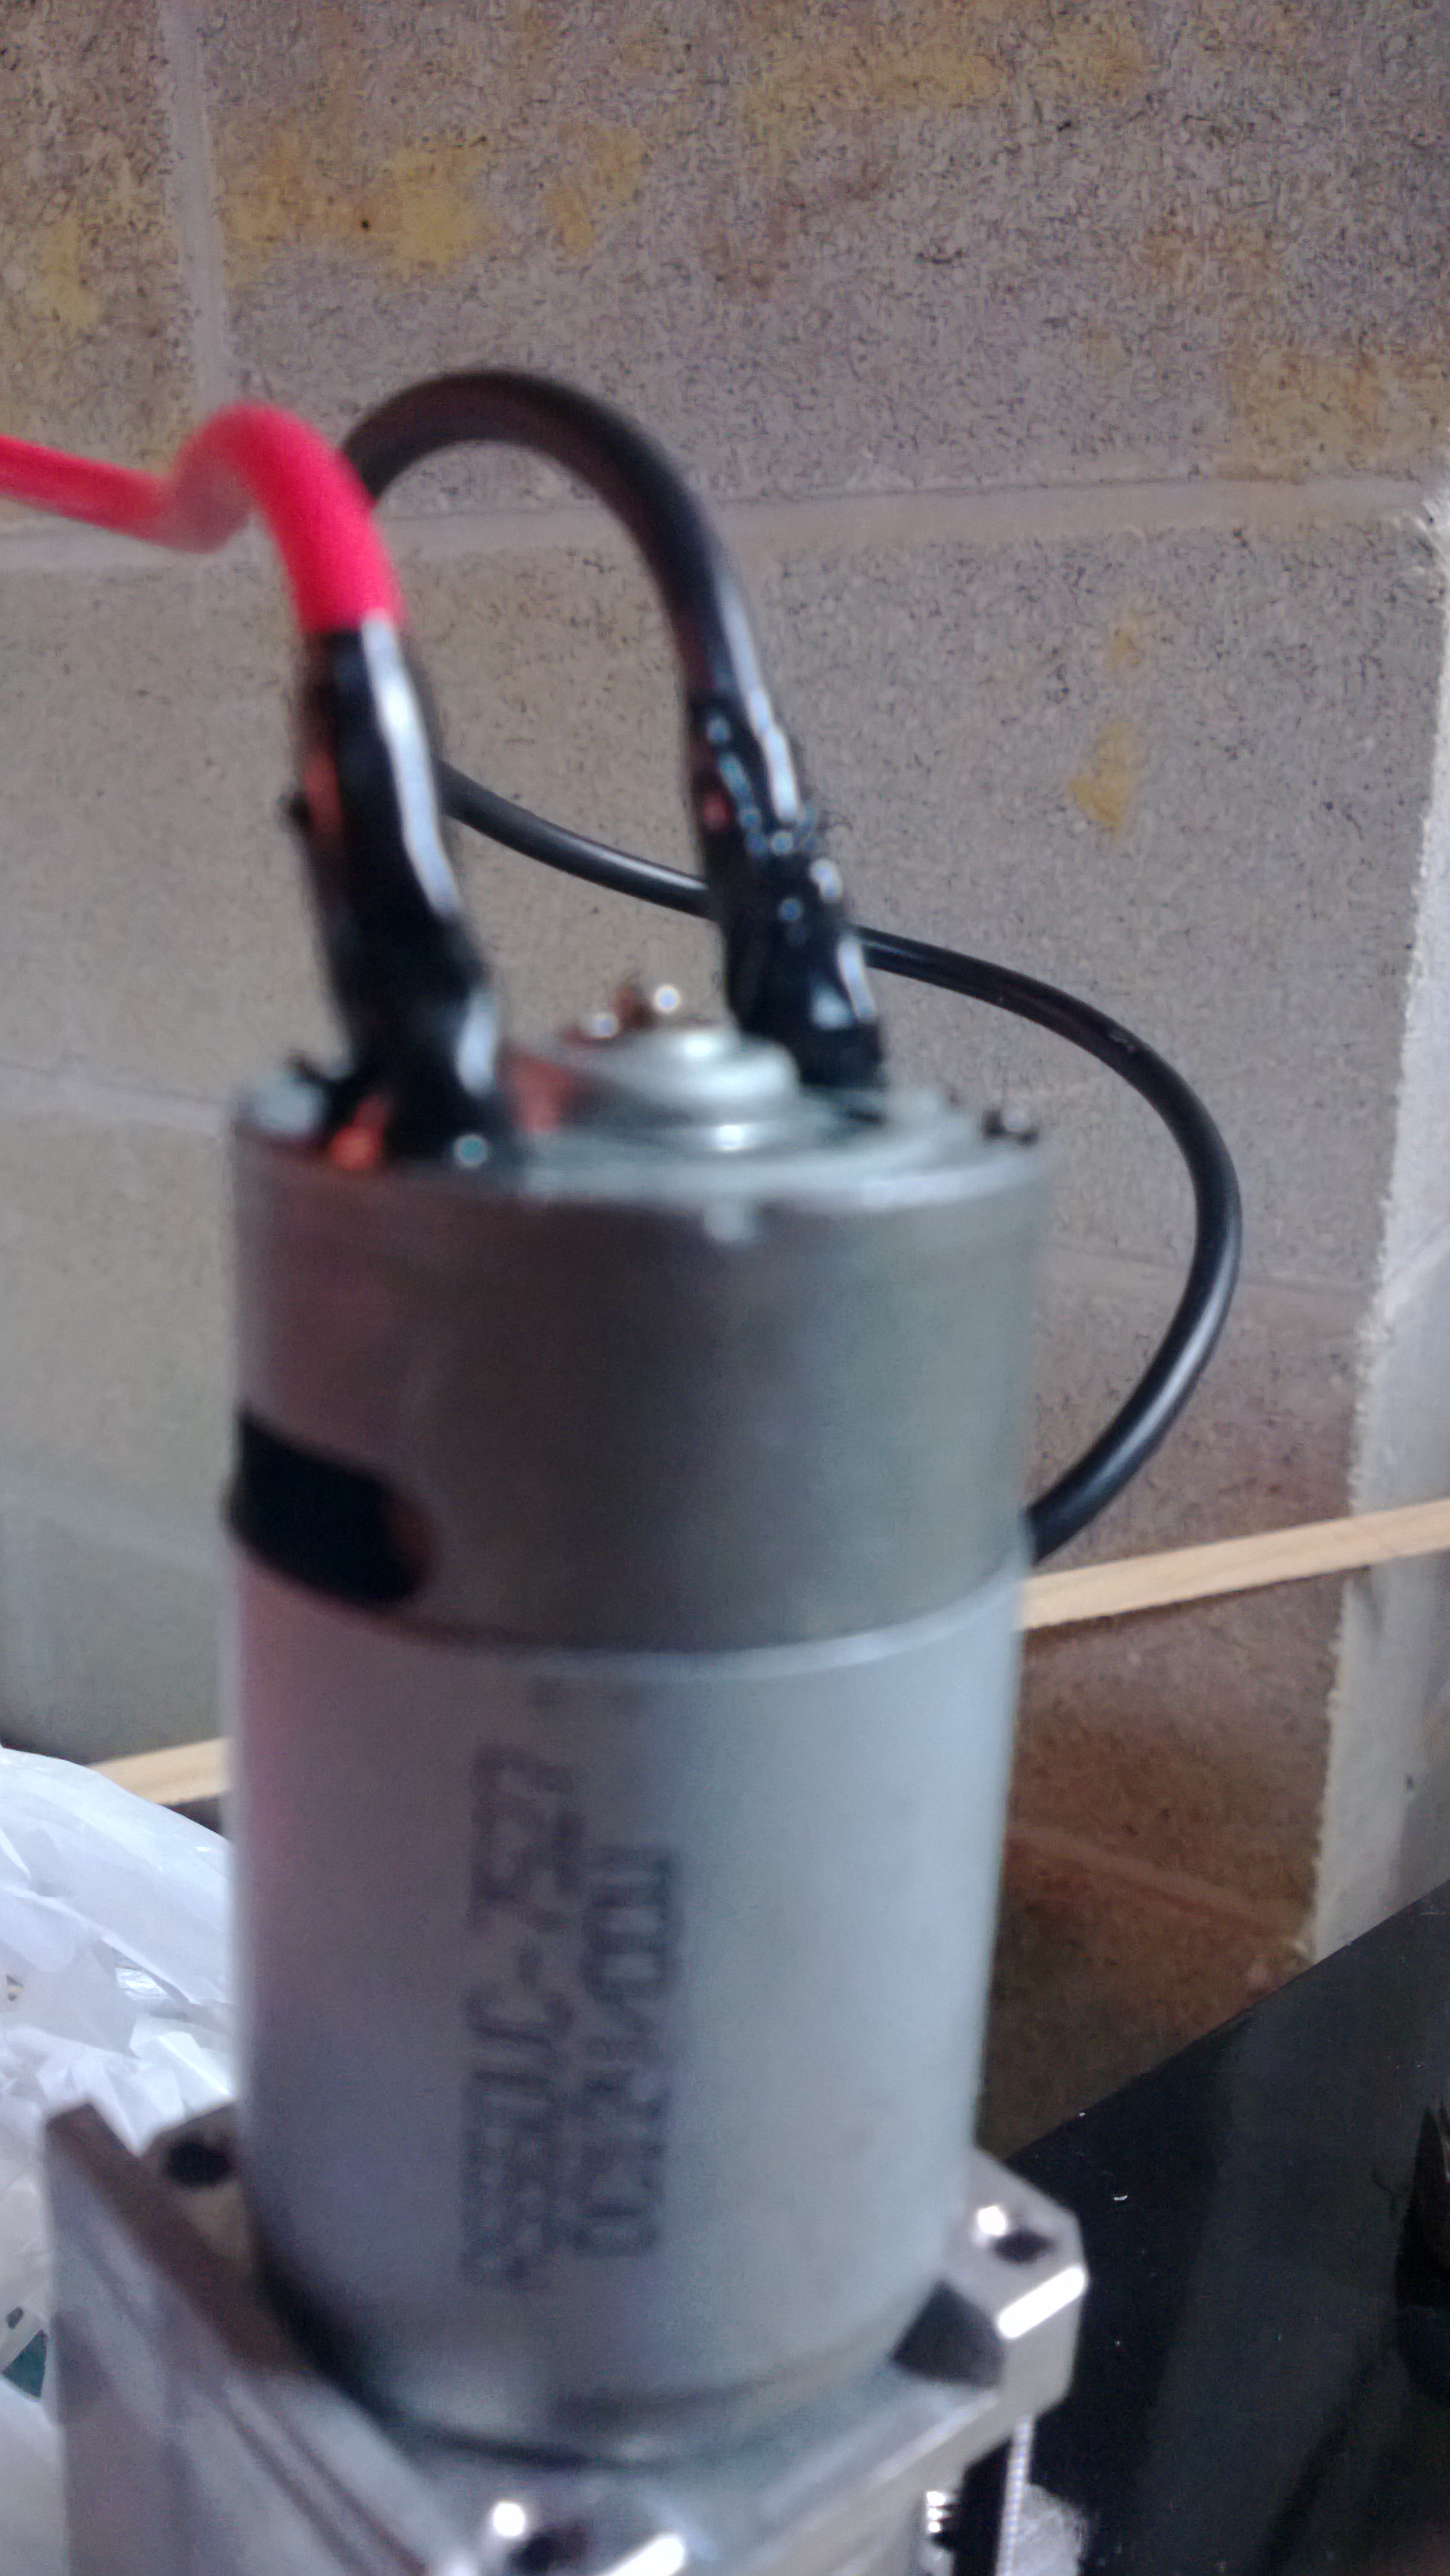
I soldered leads on the motors and connected them to the Speed Controllers and wired them to the battery. I also added a charging port so the robot can be plugged into the wall like a cell phone or laptop to charge the battery.
yeah.. my wiring job isn’t exactly pretty… I know…
I spent the weekend working on helping to get the Metal Moose ready for its competition this coming weekend. So I did not have a lot of time to work on TourBot…
I began by mounting the motors to the drive pods which was as simple as drilling four holes…
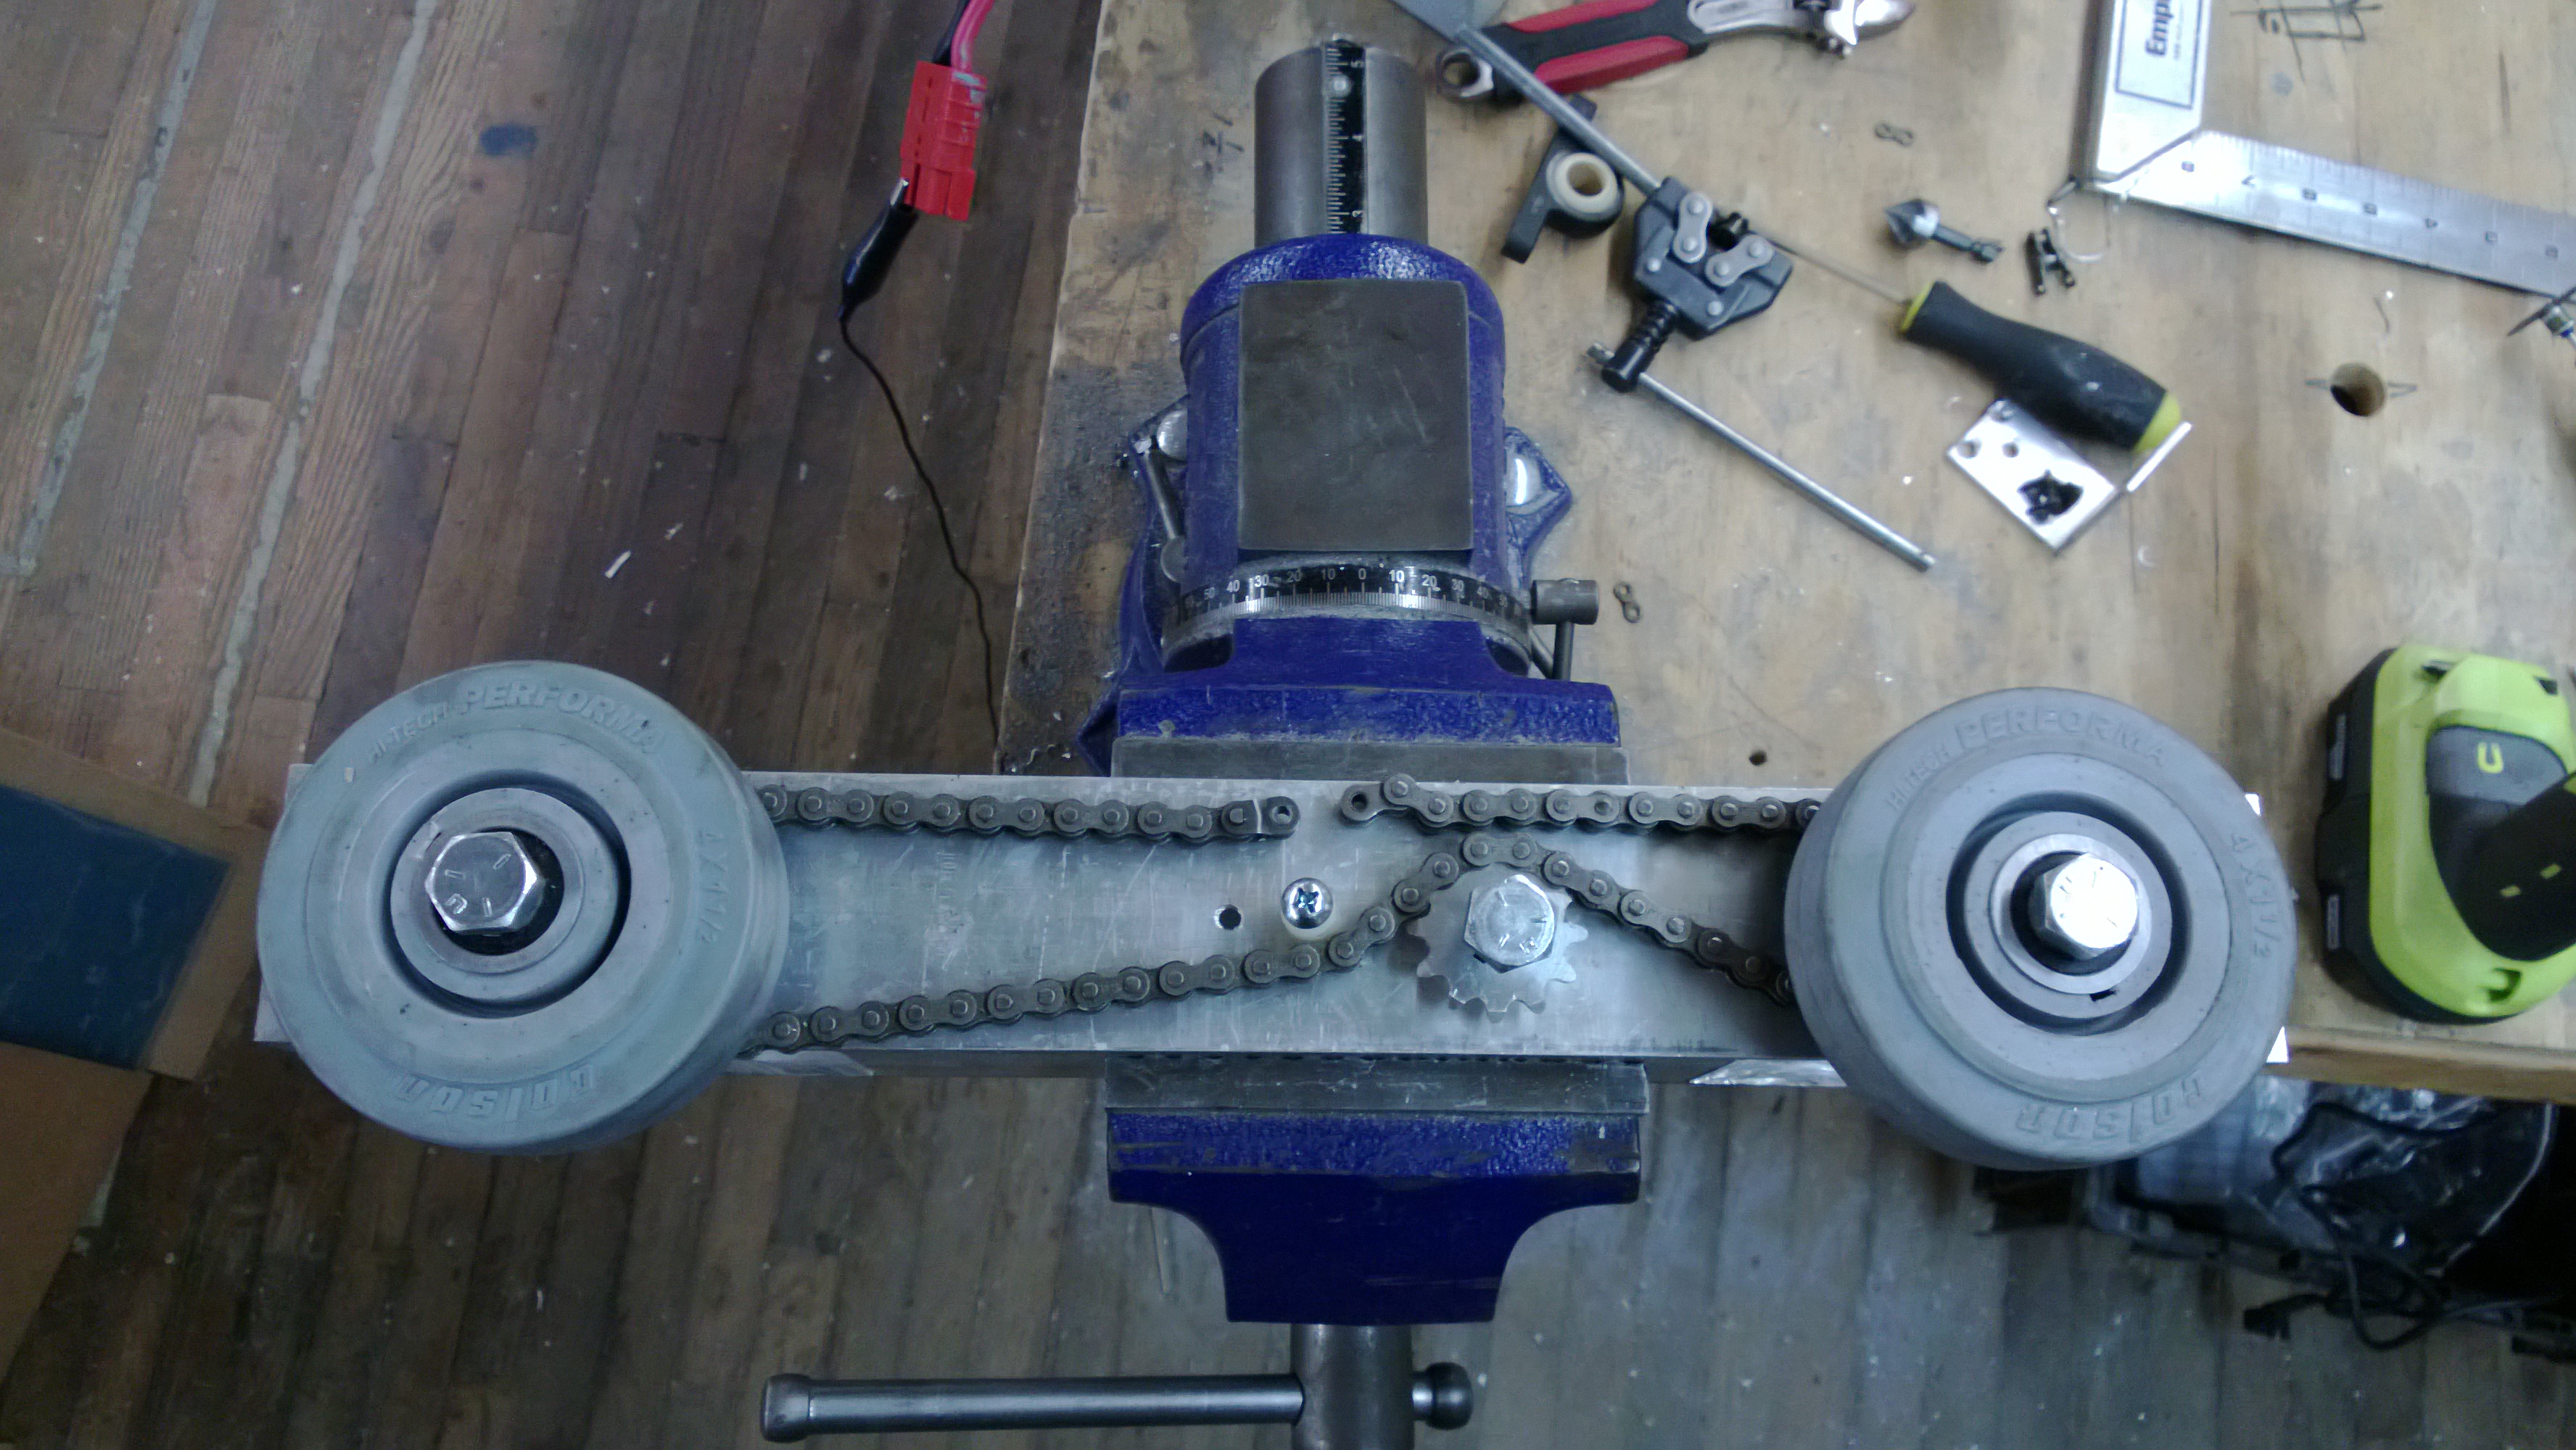
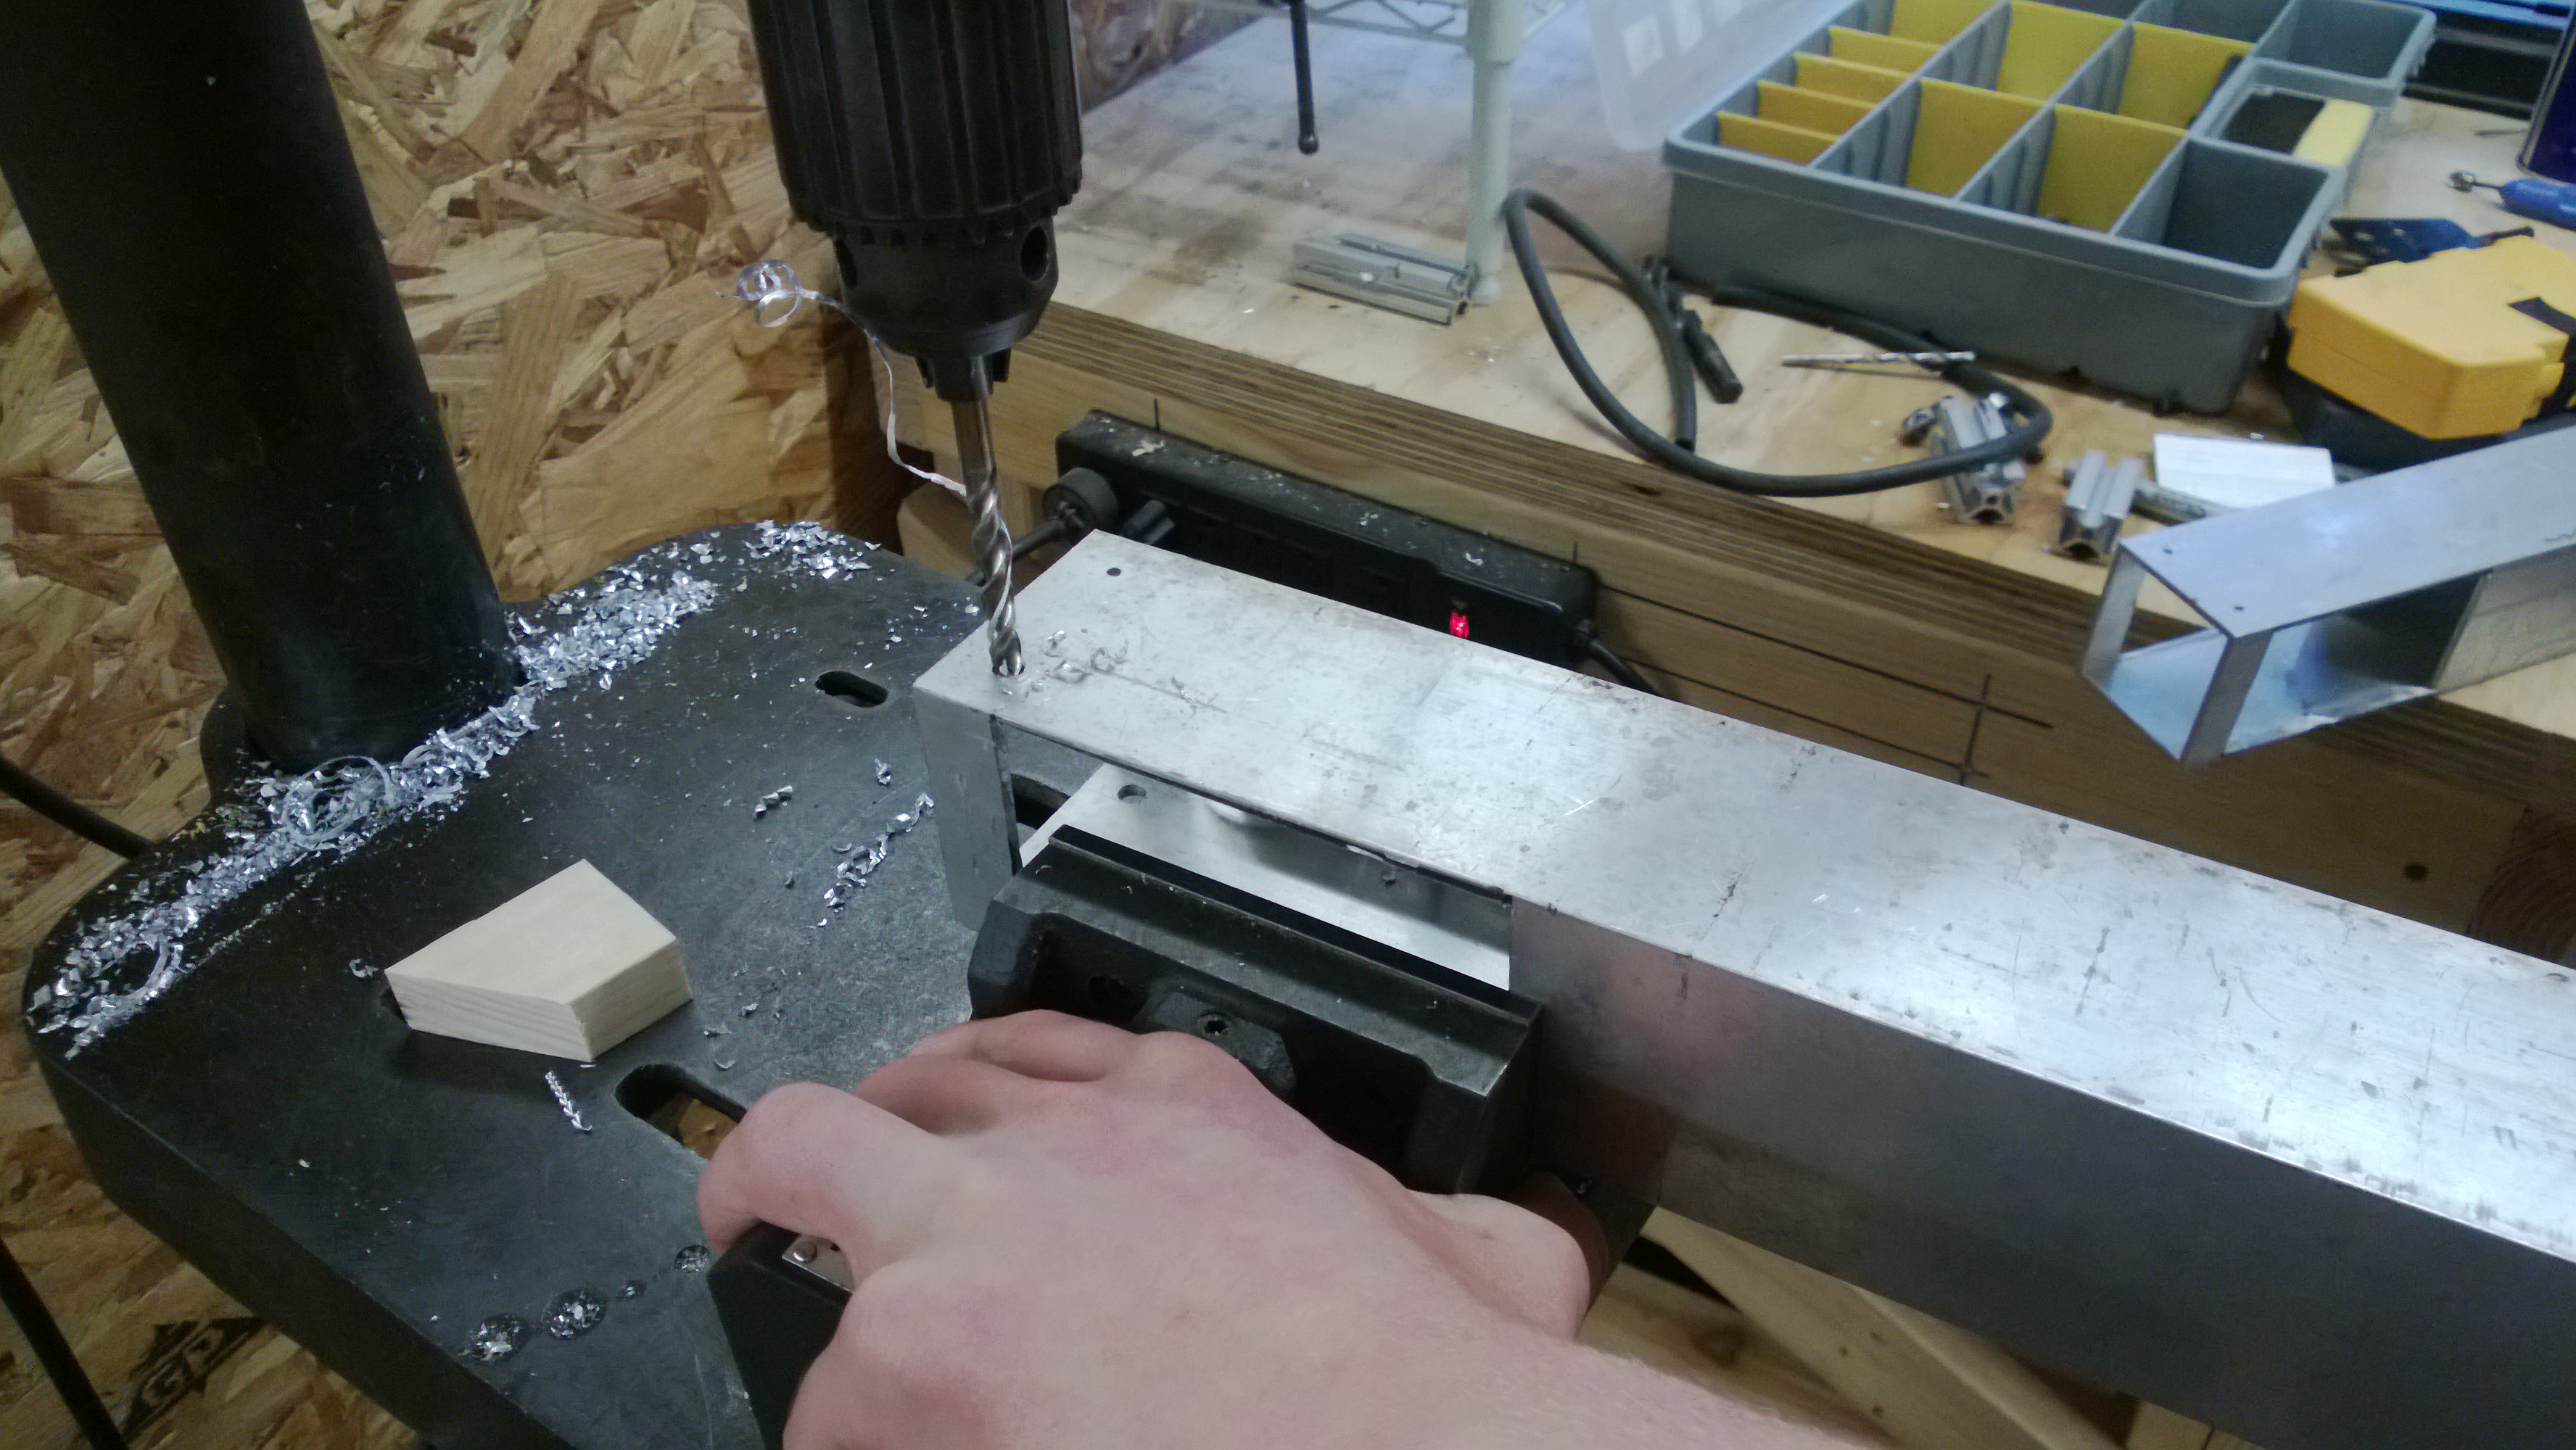
When I designed the drivetrain and decided to stick it inside a 2.5″x2.5″ tube I did not take into account the fact that I would have to fit a chain in there…
test wrapping the chain to find the length I needed
It worked fine when I wrapped the chain around the sprockets outside the tube, but that was because I could see what I was doing and reach everything. Continue reading “TourBot 4: Yes I still exist”→
If this is you’re first time reading about TourBot please read post #1 and post #2 otherwise this post won’t make a whole lot of sense
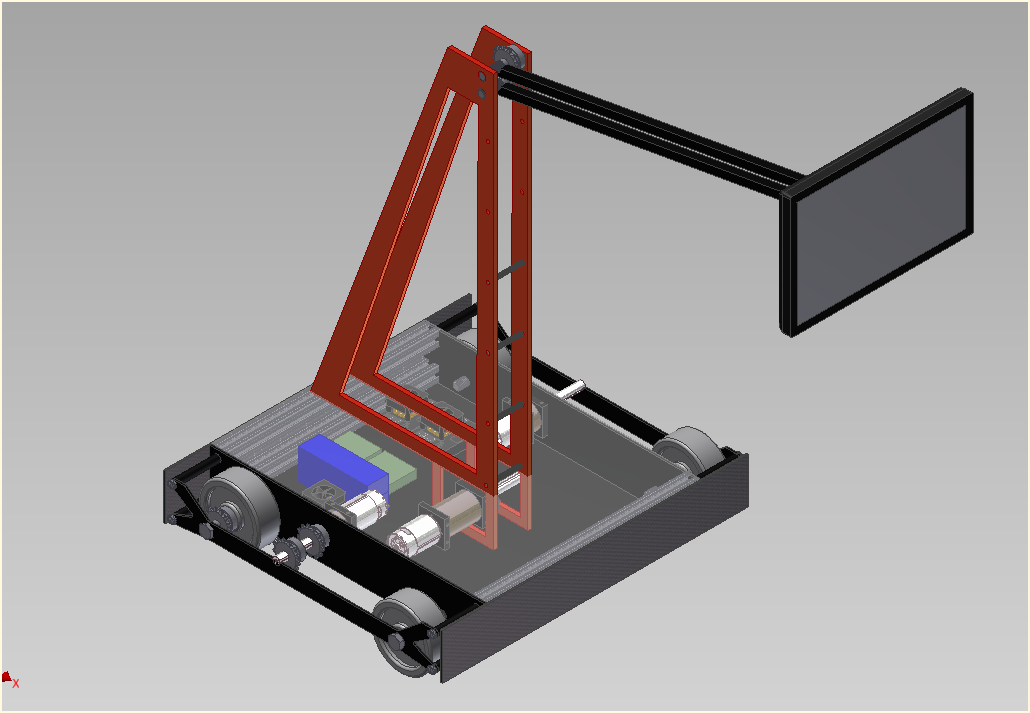
With the arm completed, today’s mission was to make the drivebase. (the frame and wheels)
Now, anyone who follows my previous posts will probably remember in my first post there was a picture of two TourBot designs that were almost the same, but how the wheels were mounted was different. That was becasue deep down inside I harbored the hope that we would have enough money to pay to have the pieces water jetted. But the budget wasn’t big enough for that so….
notice how I’m standing on scrap aluminum becasue I’m too short…
I went to work with the angle grinder….
and cut out four rectangles in two 18″ long pieces of 2 1/2″x1 1/2″ box aluminum
drilled and tapped the mounting holes…
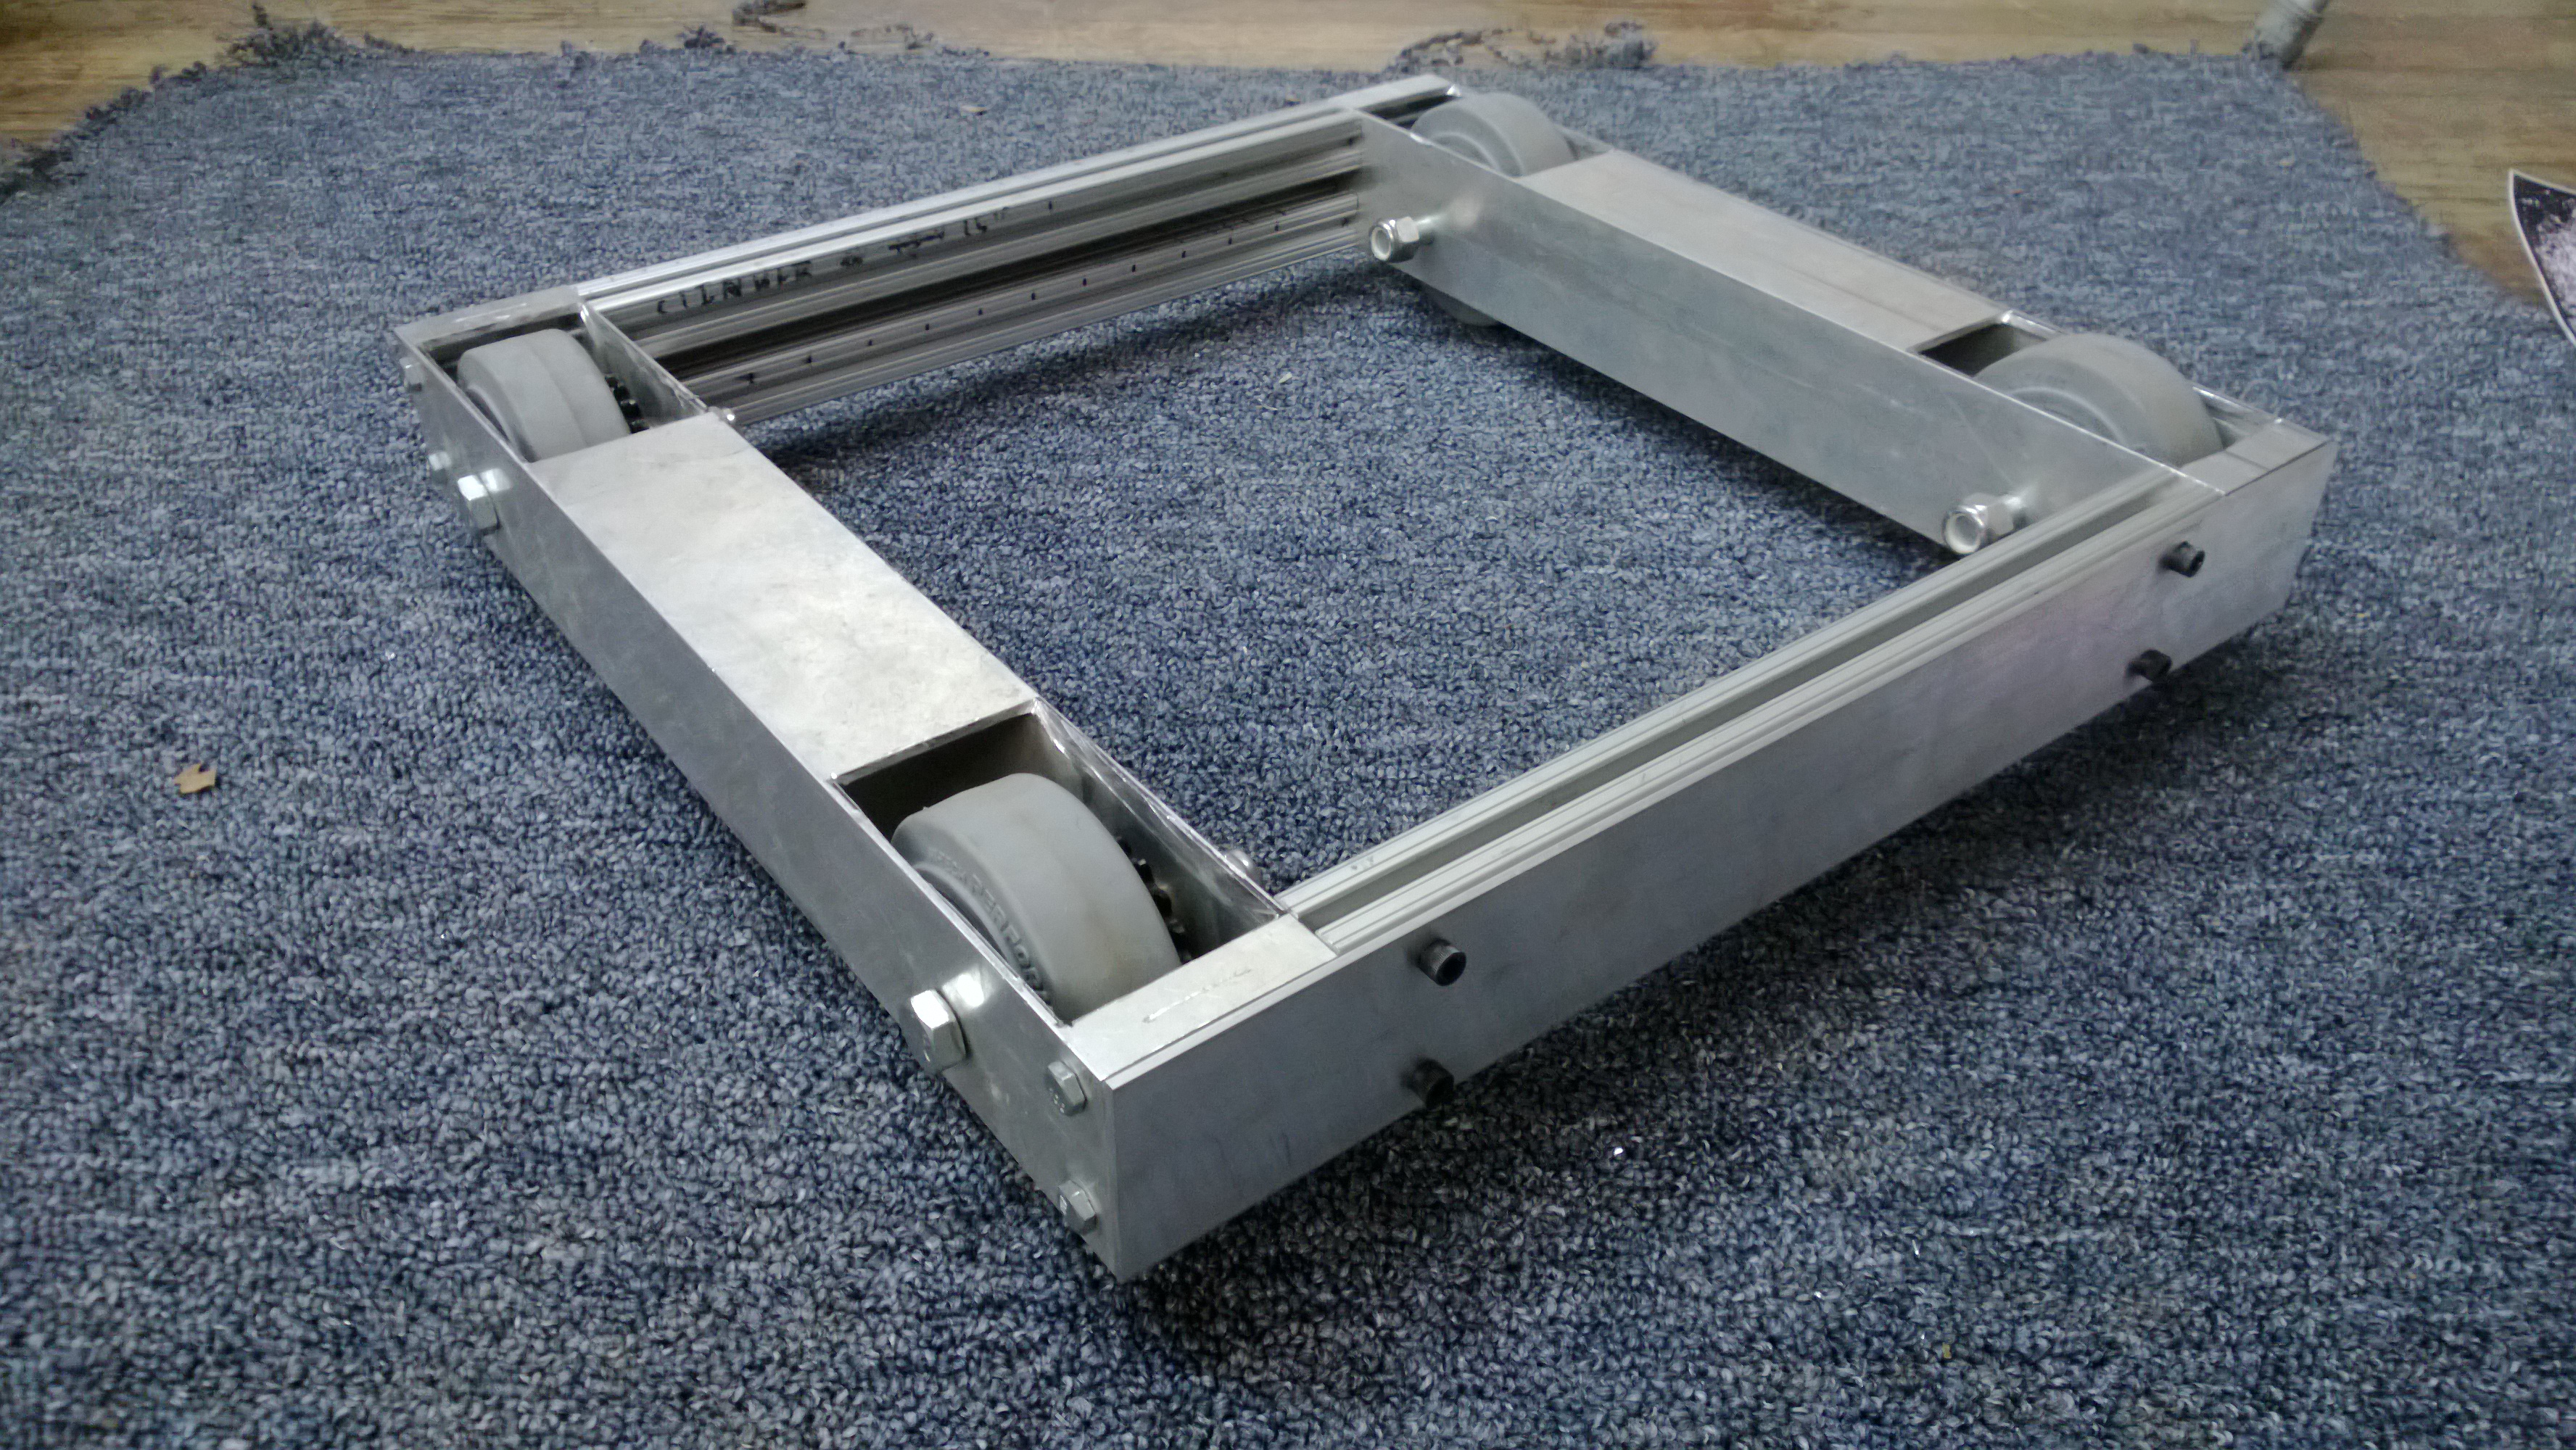
cut the other frame pieces, assembled them, added wheels
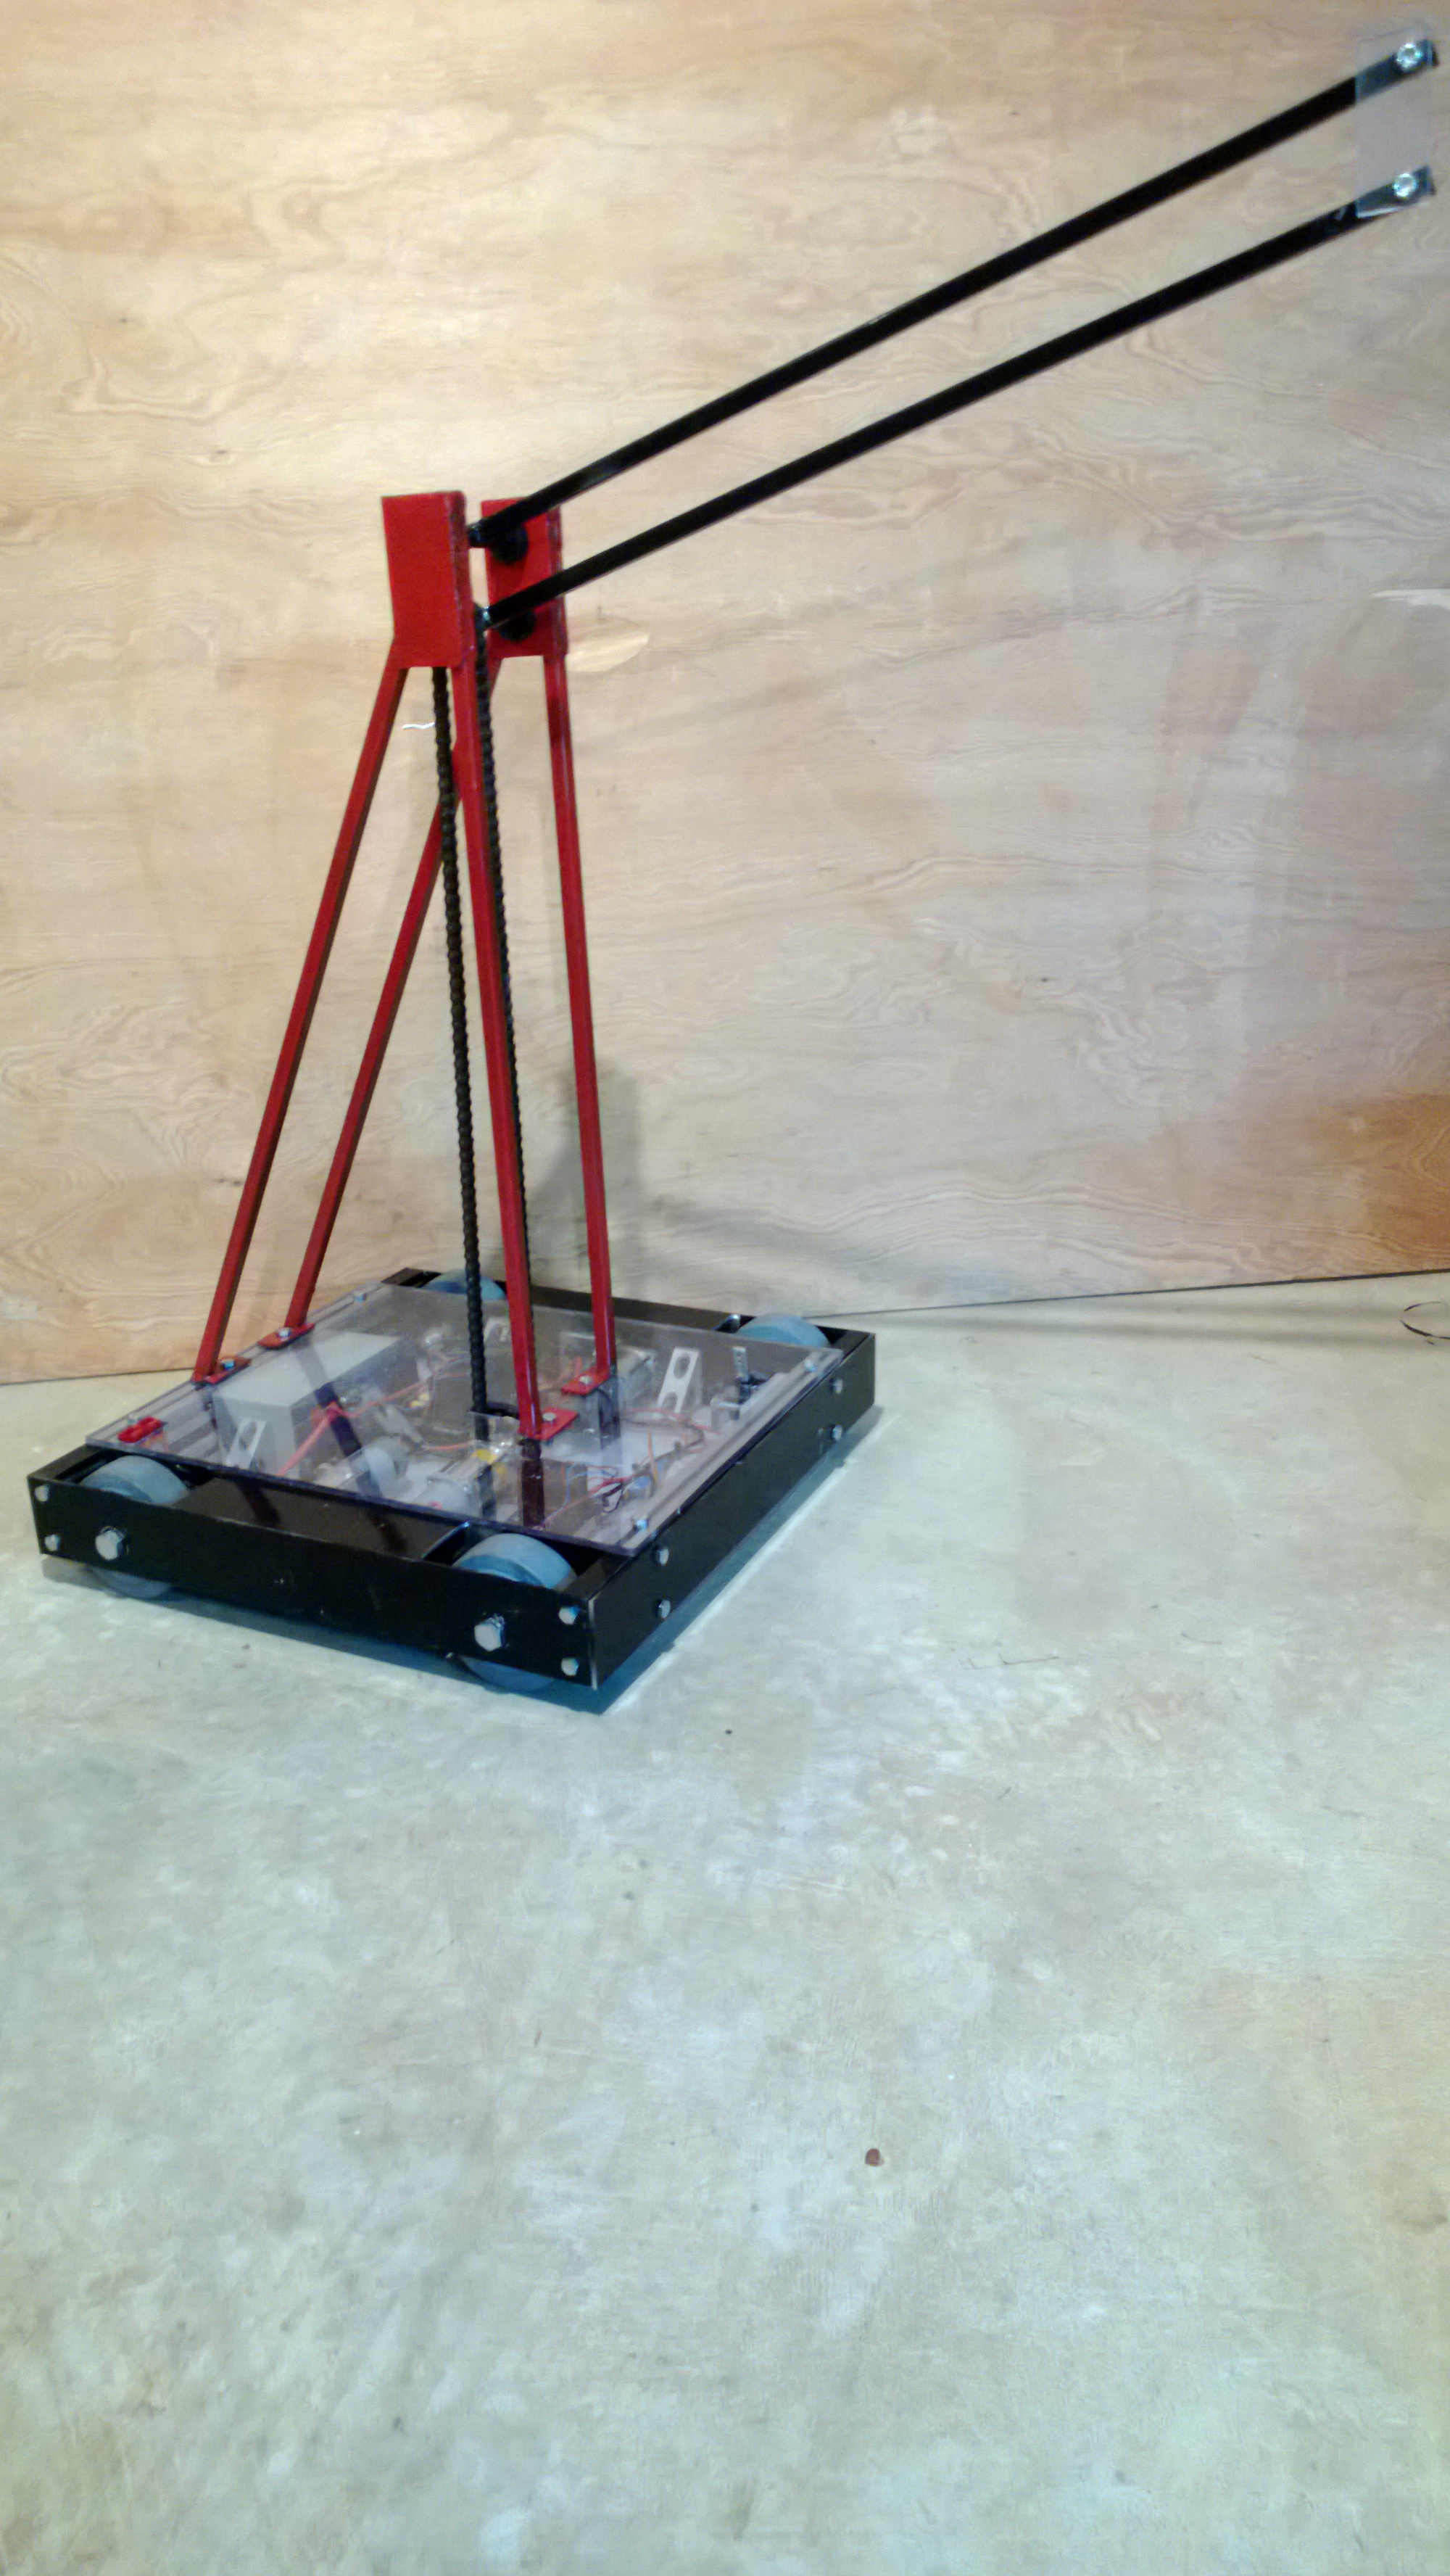
and (once again) through the magic of me forgetting to take pictures we ended up with this…
Last time I posted about TourBot it looked like this. Which is cool, except for one slight problem. It only exists on my computer. Today’s goal was to change that…
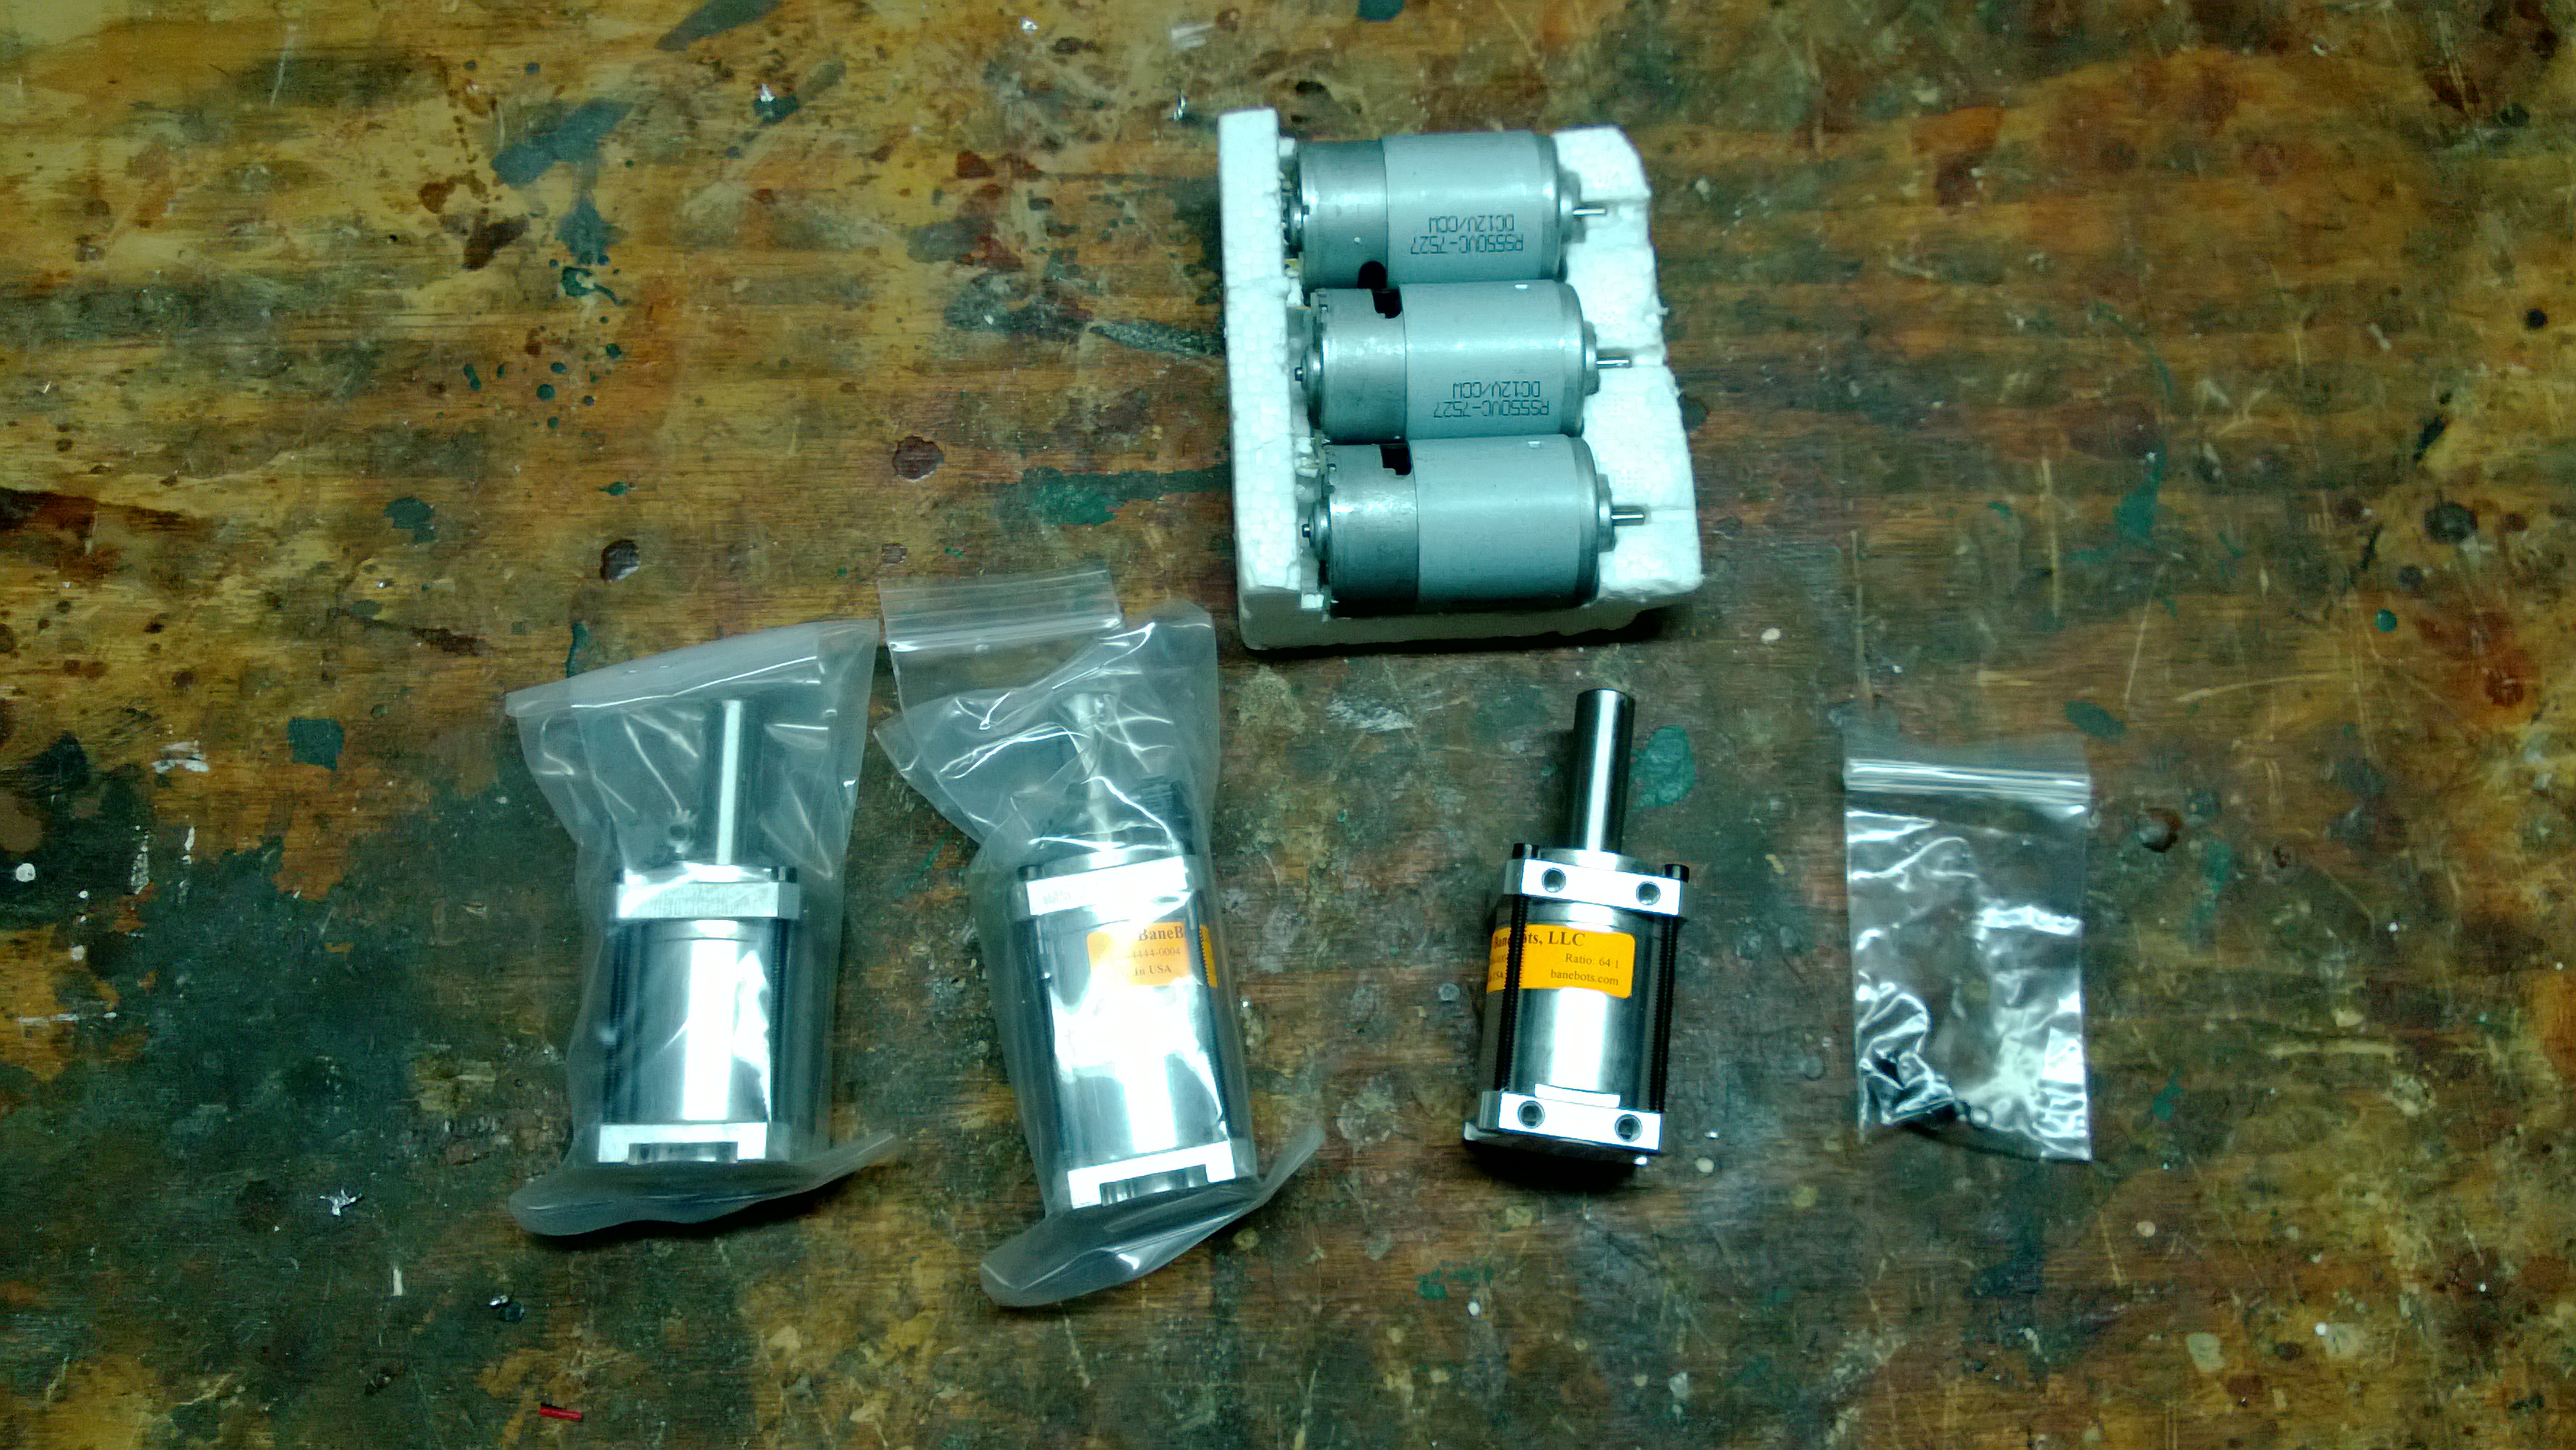
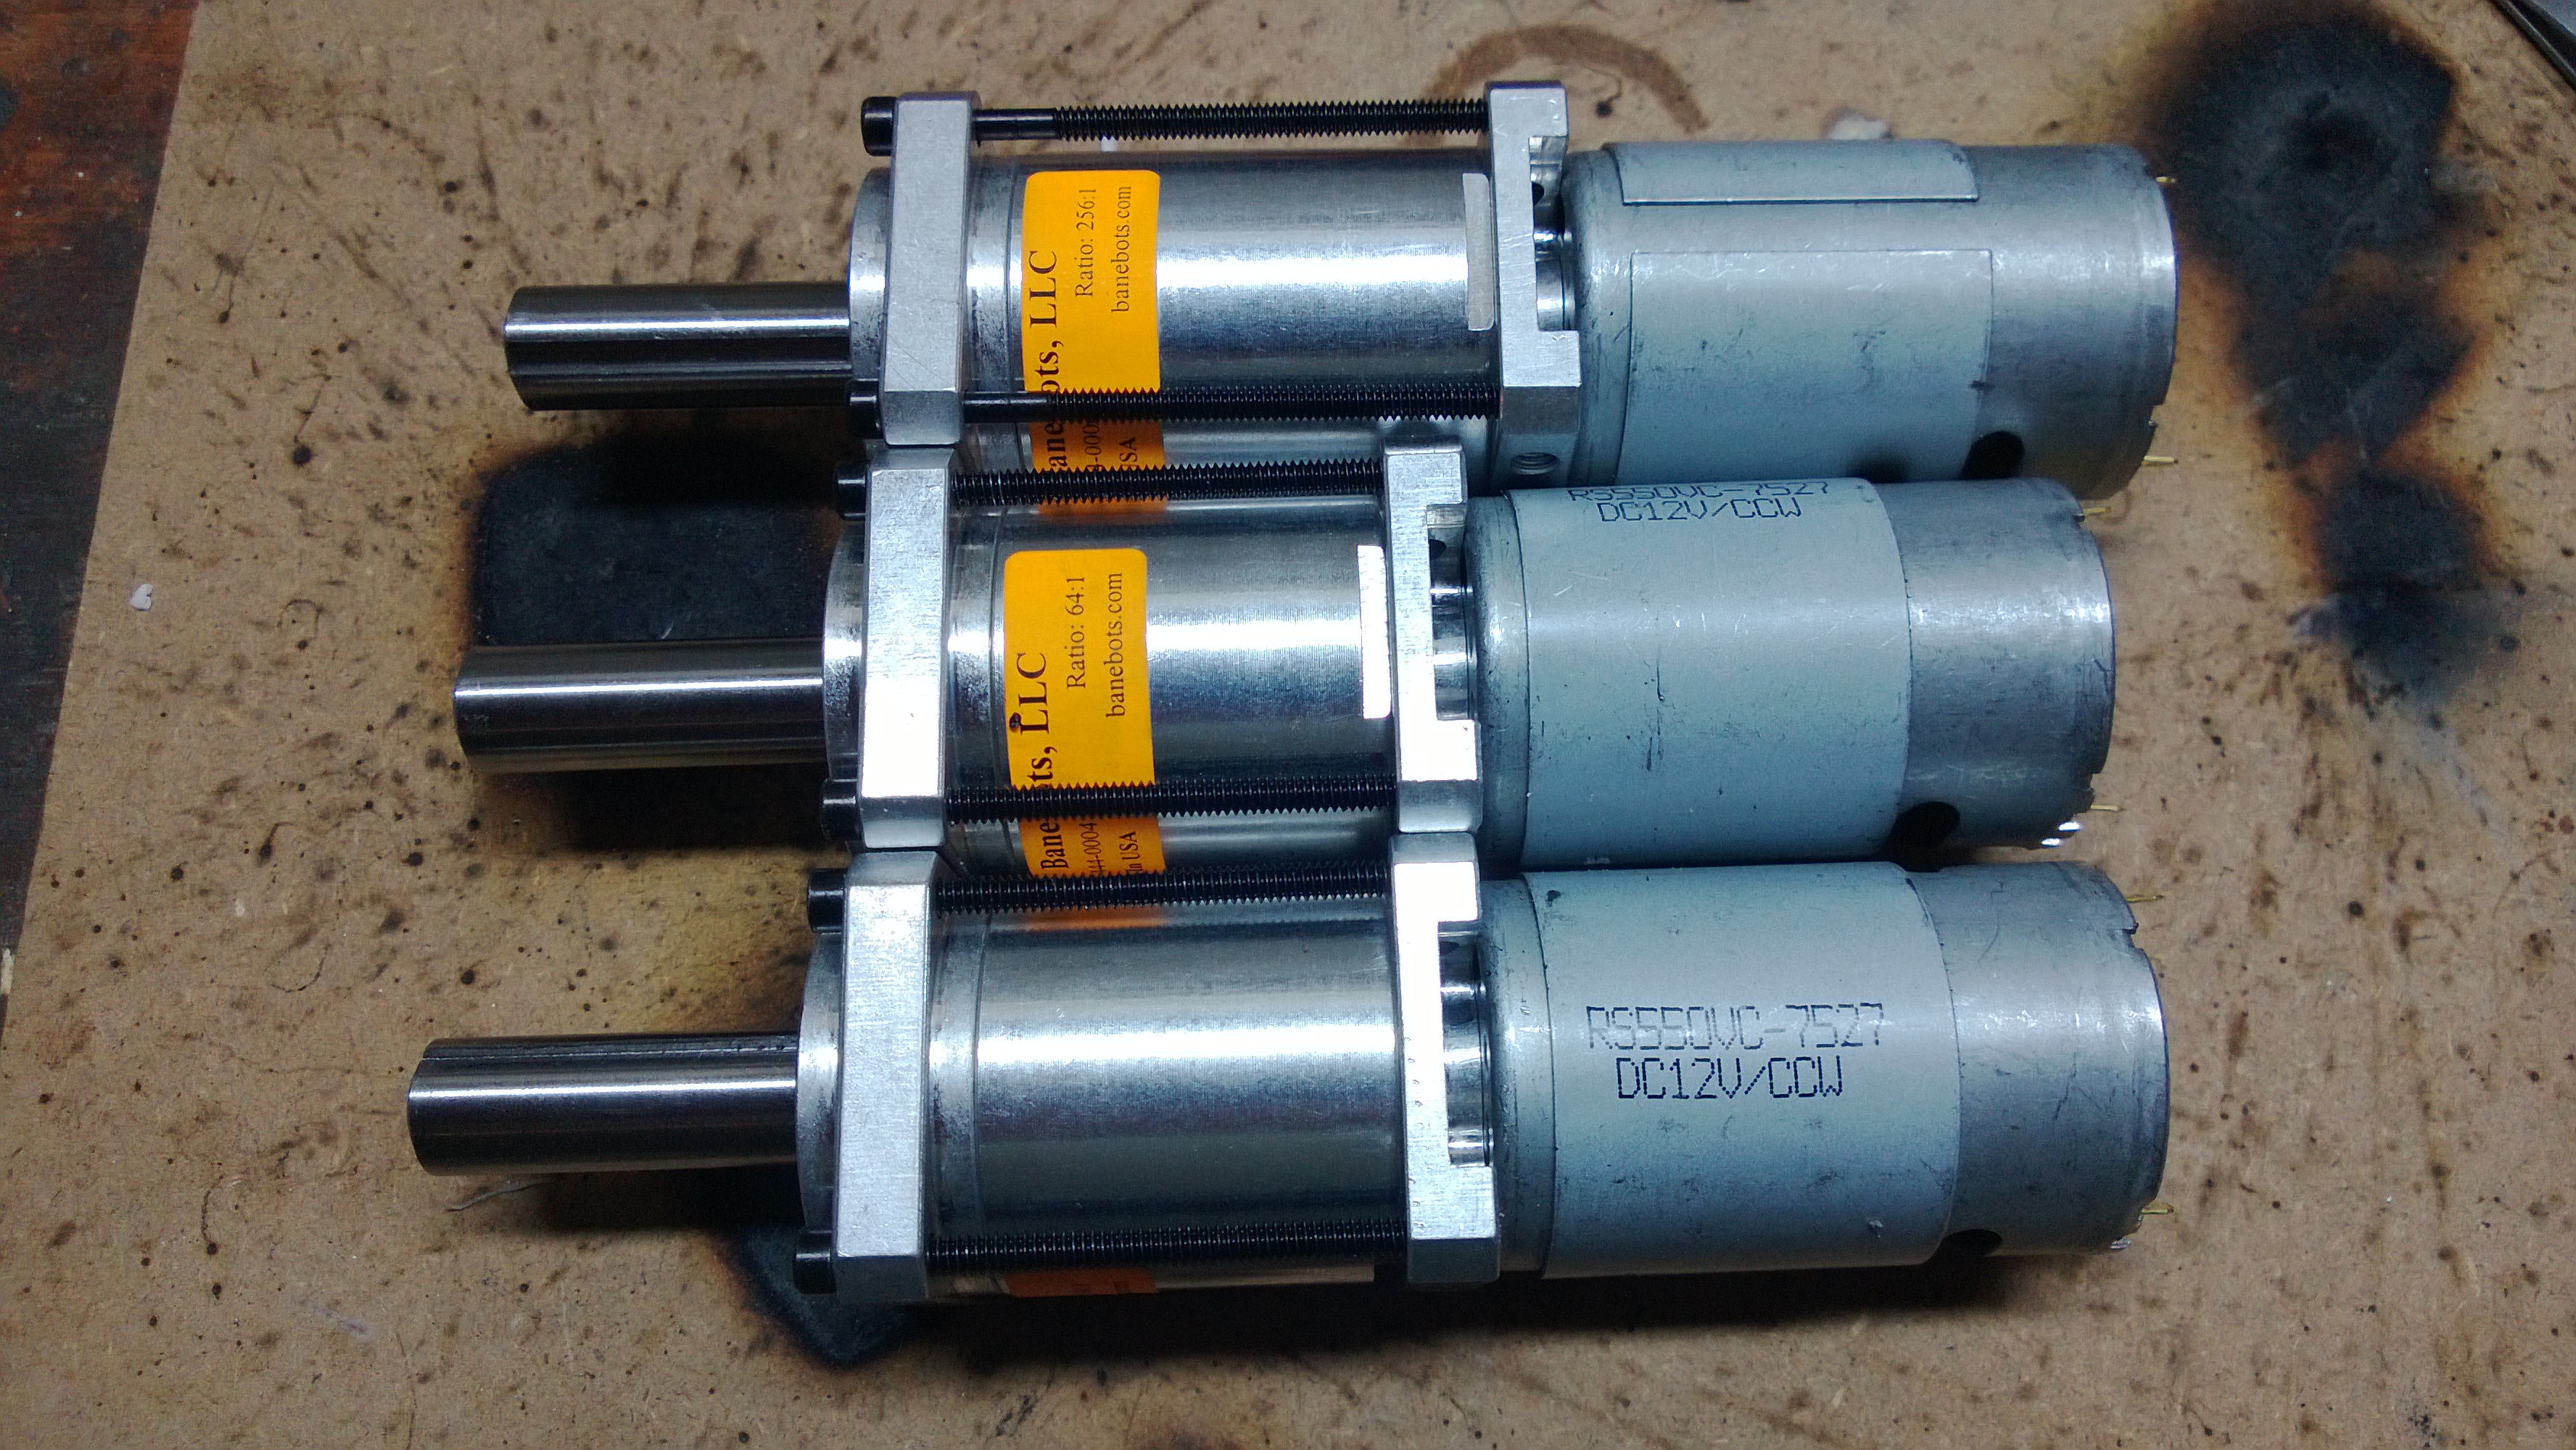
So I did the only sensible thing and started assembling the motors/gearboxes. (a part I won’t need until about 1/2 the way through the build.)
The three gearboxes and motors that will be used in TourBot before assembly.
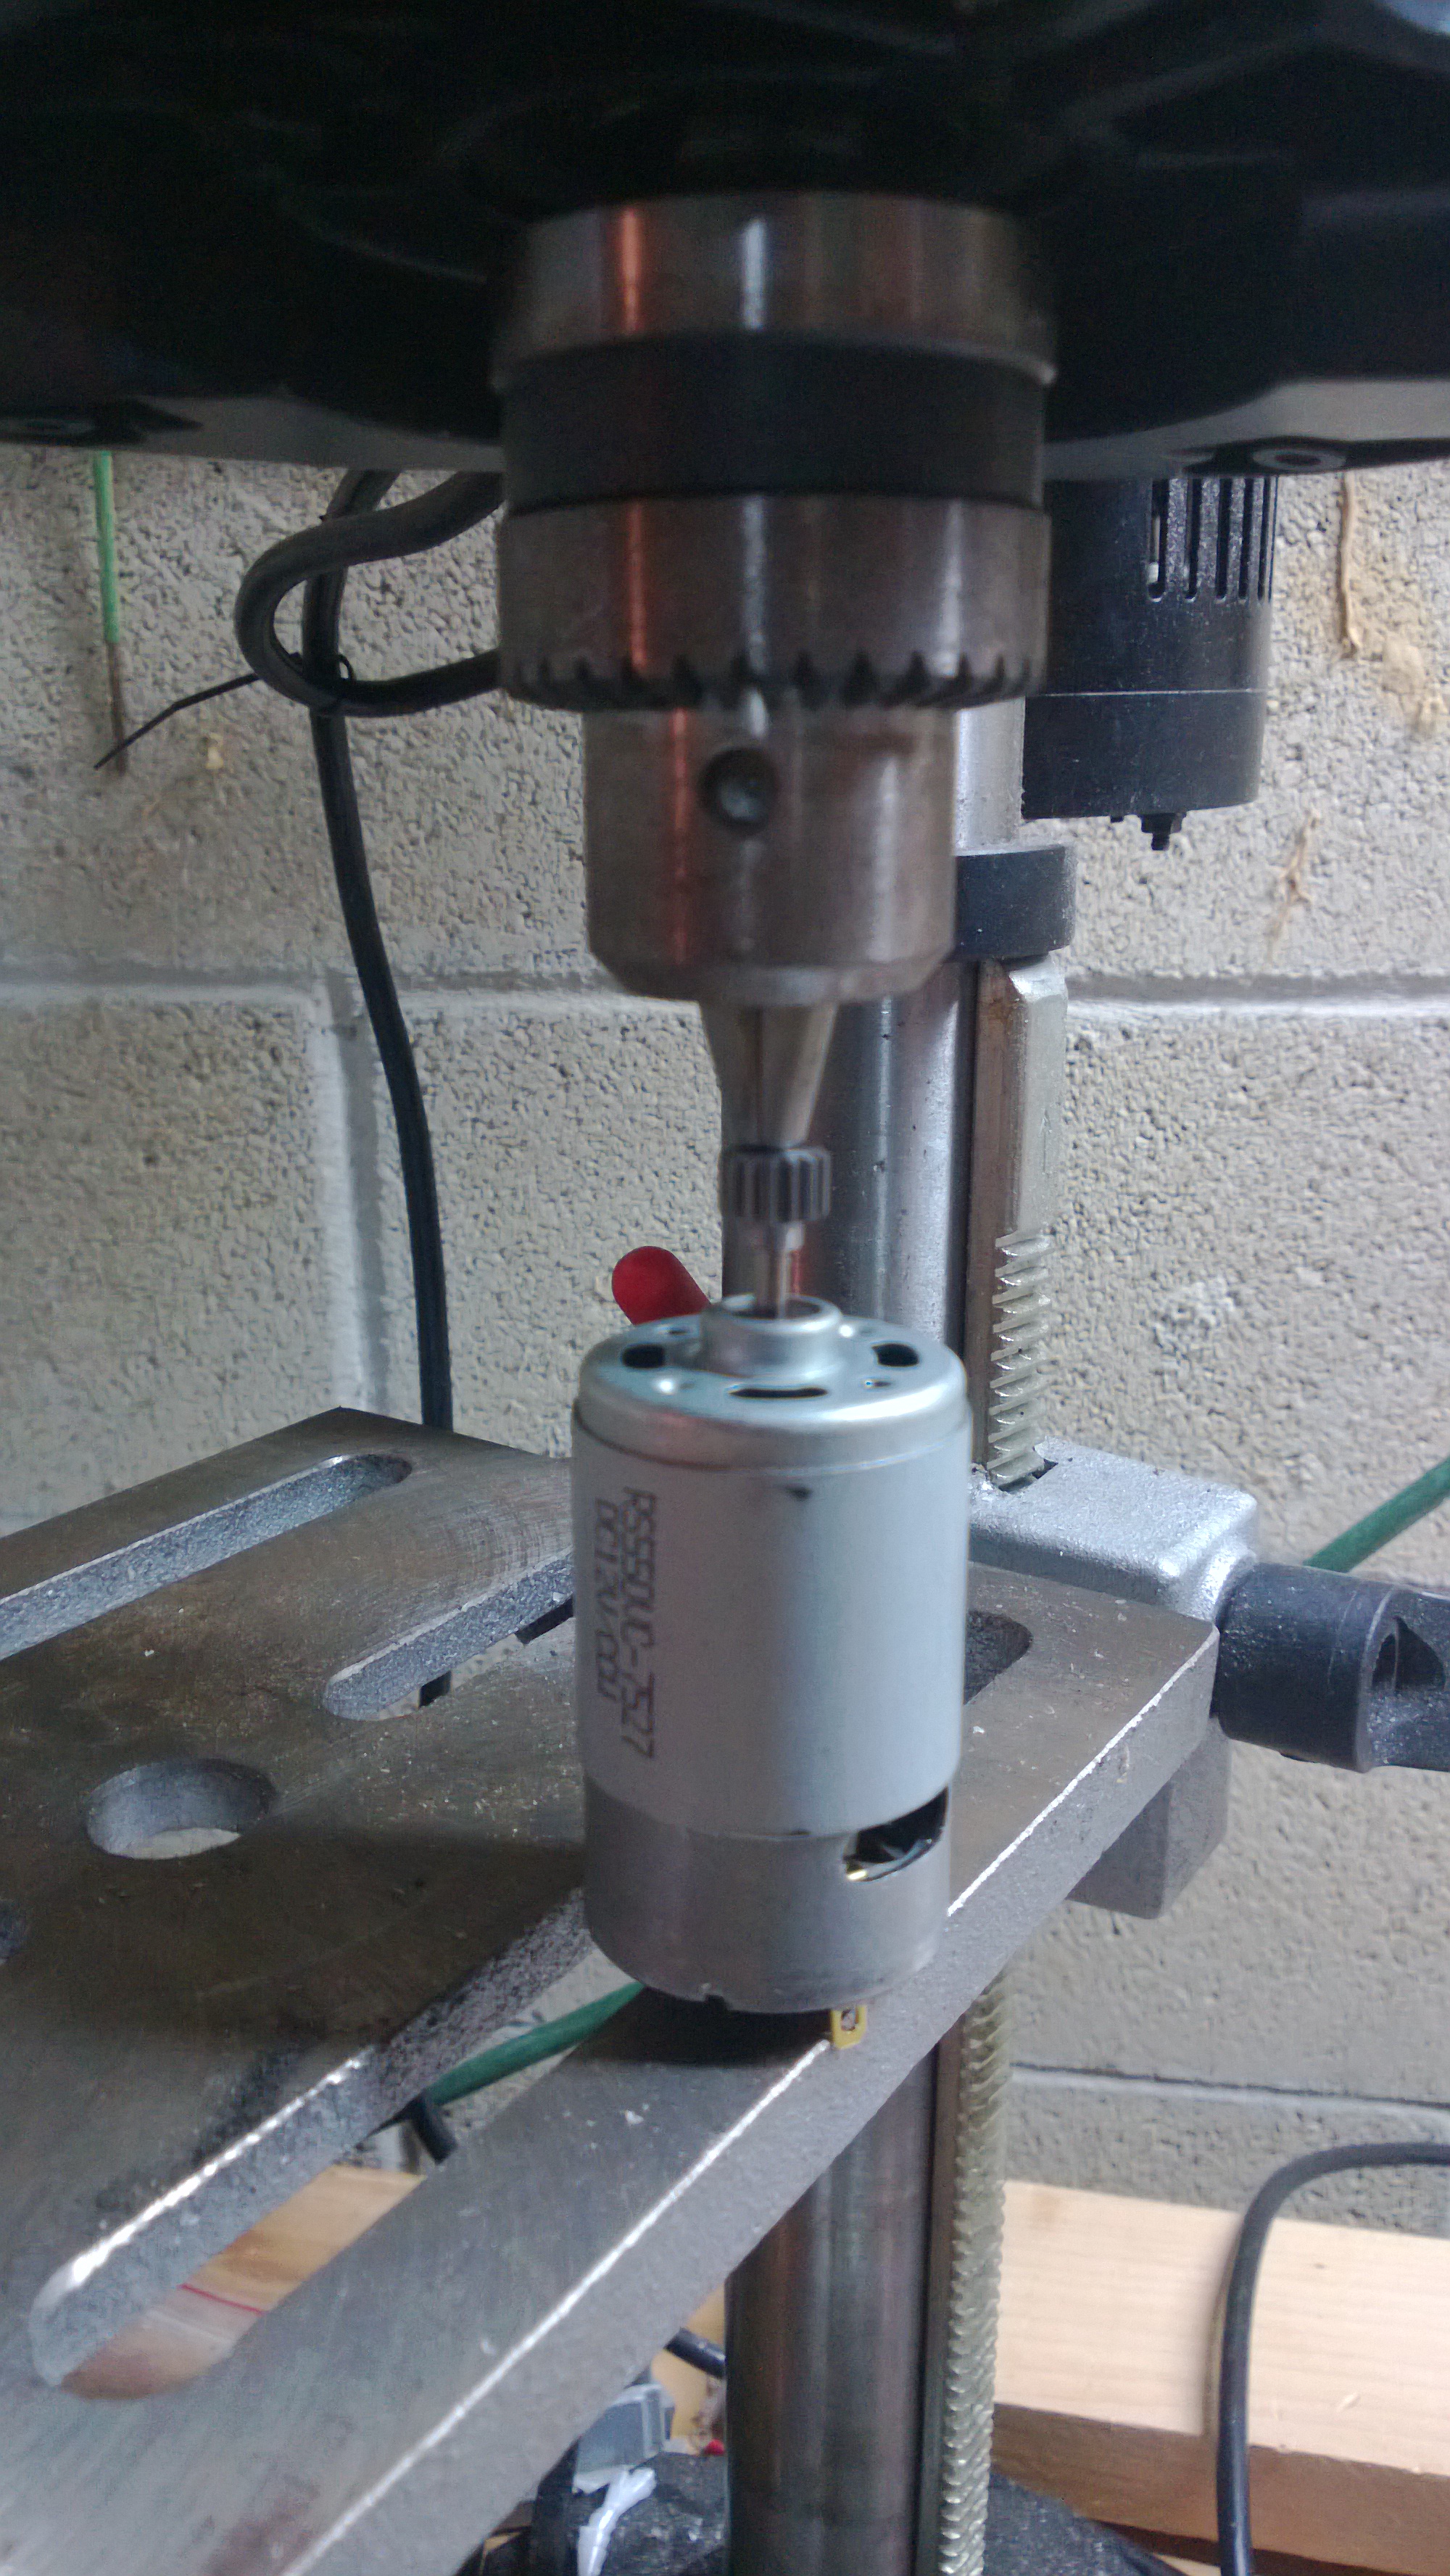
The first step after getting everything out of the packaging was putting the pinion on the motor’s shaft. Which is easier said than done because the pinion’s hole is about .002″ smaller than the shaft’s diameter. This means that once its on the shaft it isn’t coming off or slipping. However it makes it pretty much impossible to put the pinion on the shaft without an arbor press. I do not own an arbor press.
I had to improvise with my drill press. Because drill press and arbor press are close enough, right? I mean they both have the word “press” in their name.
tweezers made this so much easier
After getting the pinions on the motors I then greased the gearboxes. This was another one of those easier said than done things. To grease a gearbox you need to take it apart and remove all the gears and squirt grease in between each layer of gears. Because the gearboxes are high reduction (64:1) planetary gearboxes, there are a lot of gears in them. Fifteen to be exact and in order to reassemble the gearboxes they all had to be perfectly aligned to the ring gear for it to fit.
After repeating this process two more times, I had three gearboxes done and moved on to building the arm.
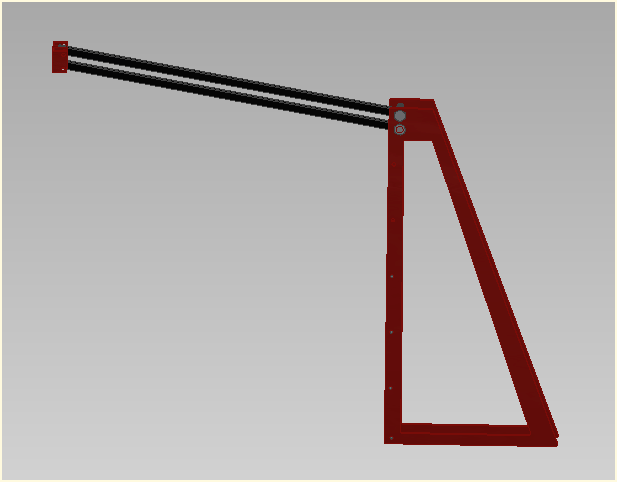
I started by taking all the measurements from my CAD drawing, and then cutting out the pieces from my tube steel collection.
I began by making the moving parts of the arm. This involved welding a 25″ long square piece of tube to a round piece to make a T shape.
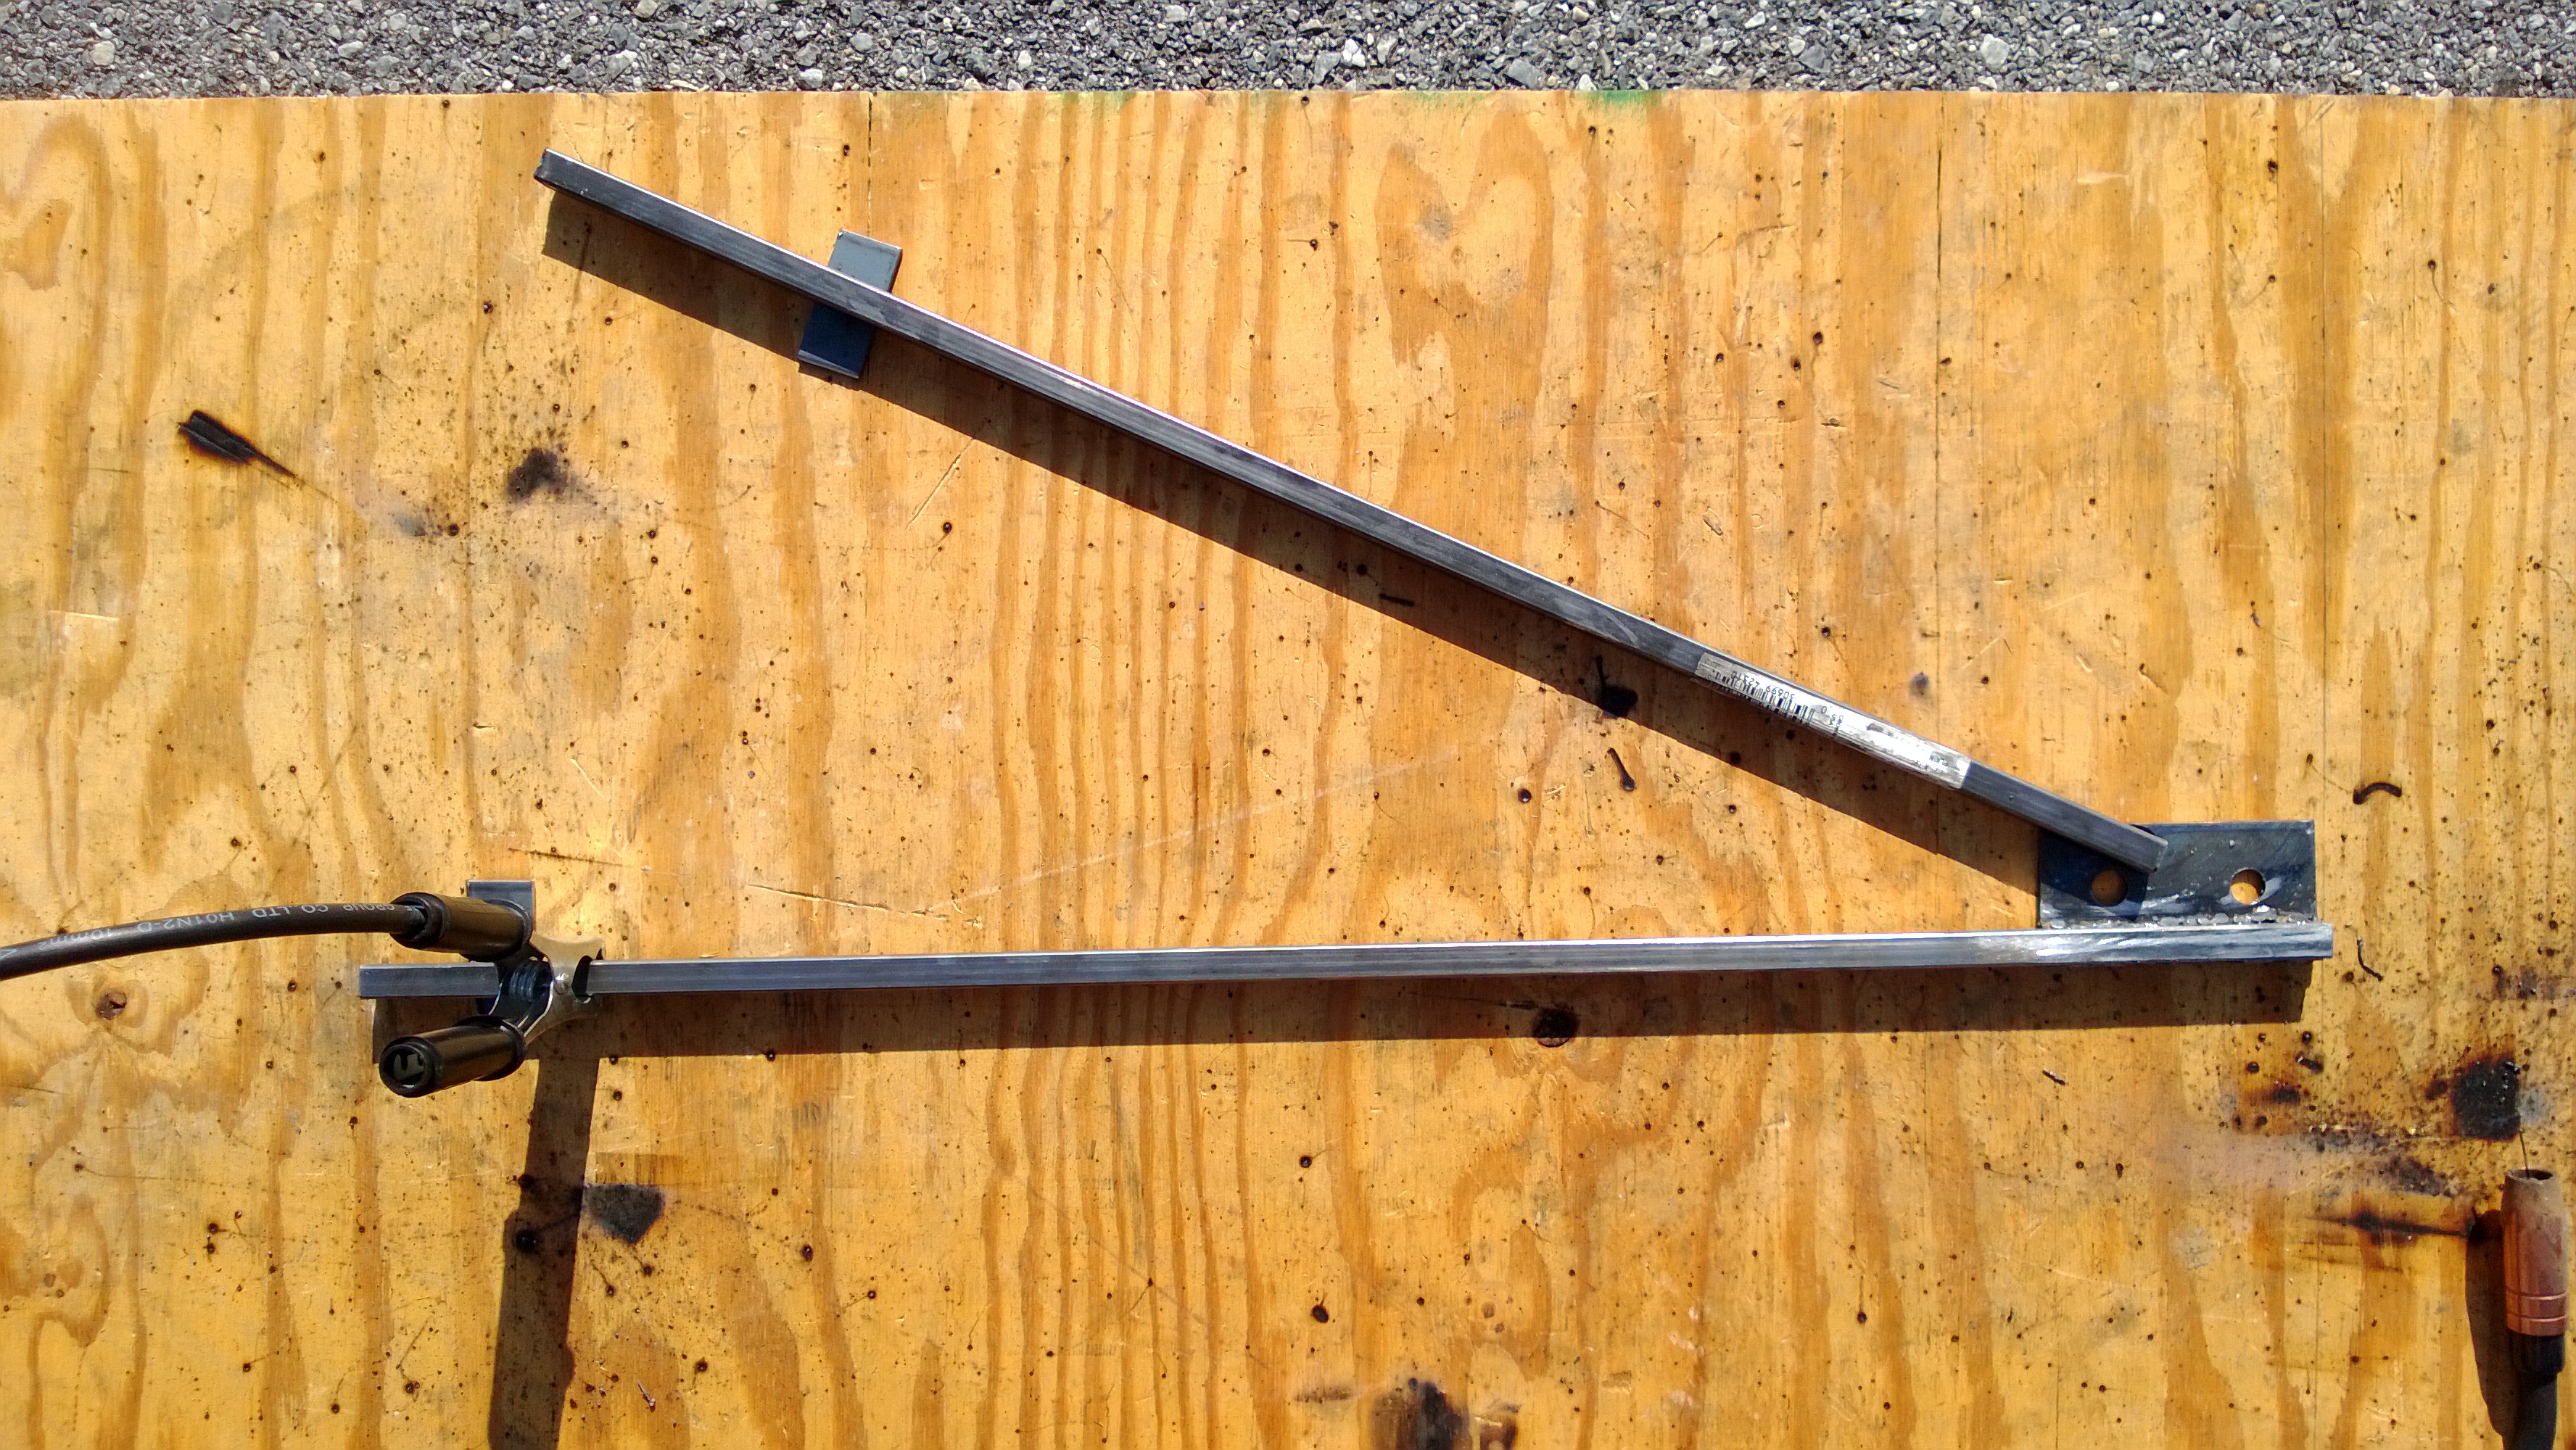
I then made another one and cut the steel to mount them…
and then test fitted everything…
and welded more…
forgot to take pictures…
you have no idea how hard it was to balance it so it stood up for the picture…
My name is Alex Horne and for my Senior Project I, along with with my classmate Ben, am building a tour guide robot for Westtown School’s Admissions office. We are both heavily involved in Westtown’s Robotics Team, which Ben is a co-captain of. I’ve been building combat robots (made famous by the former TV show BattleBots) for the past three years. So between the two of us I’d say we’ve got at least a little experience with robots. Continue reading “TourBot”→


