If this is you’re first time reading about TourBot please read post #1 and post #2 otherwise this post won’t make a whole lot of sense
With the arm completed, today’s mission was to make the drivebase. (the frame and wheels)

Now, anyone who follows my previous posts will probably remember in my first post there was a picture of two TourBot designs that were almost the same, but how the wheels were mounted was different. That was becasue deep down inside I harbored the hope that we would have enough money to pay to have the pieces water jetted. But the budget wasn’t big enough for that so….

I went to work with the angle grinder….

and cut out four rectangles in two 18″ long pieces of 2 1/2″x1 1/2″ box aluminum
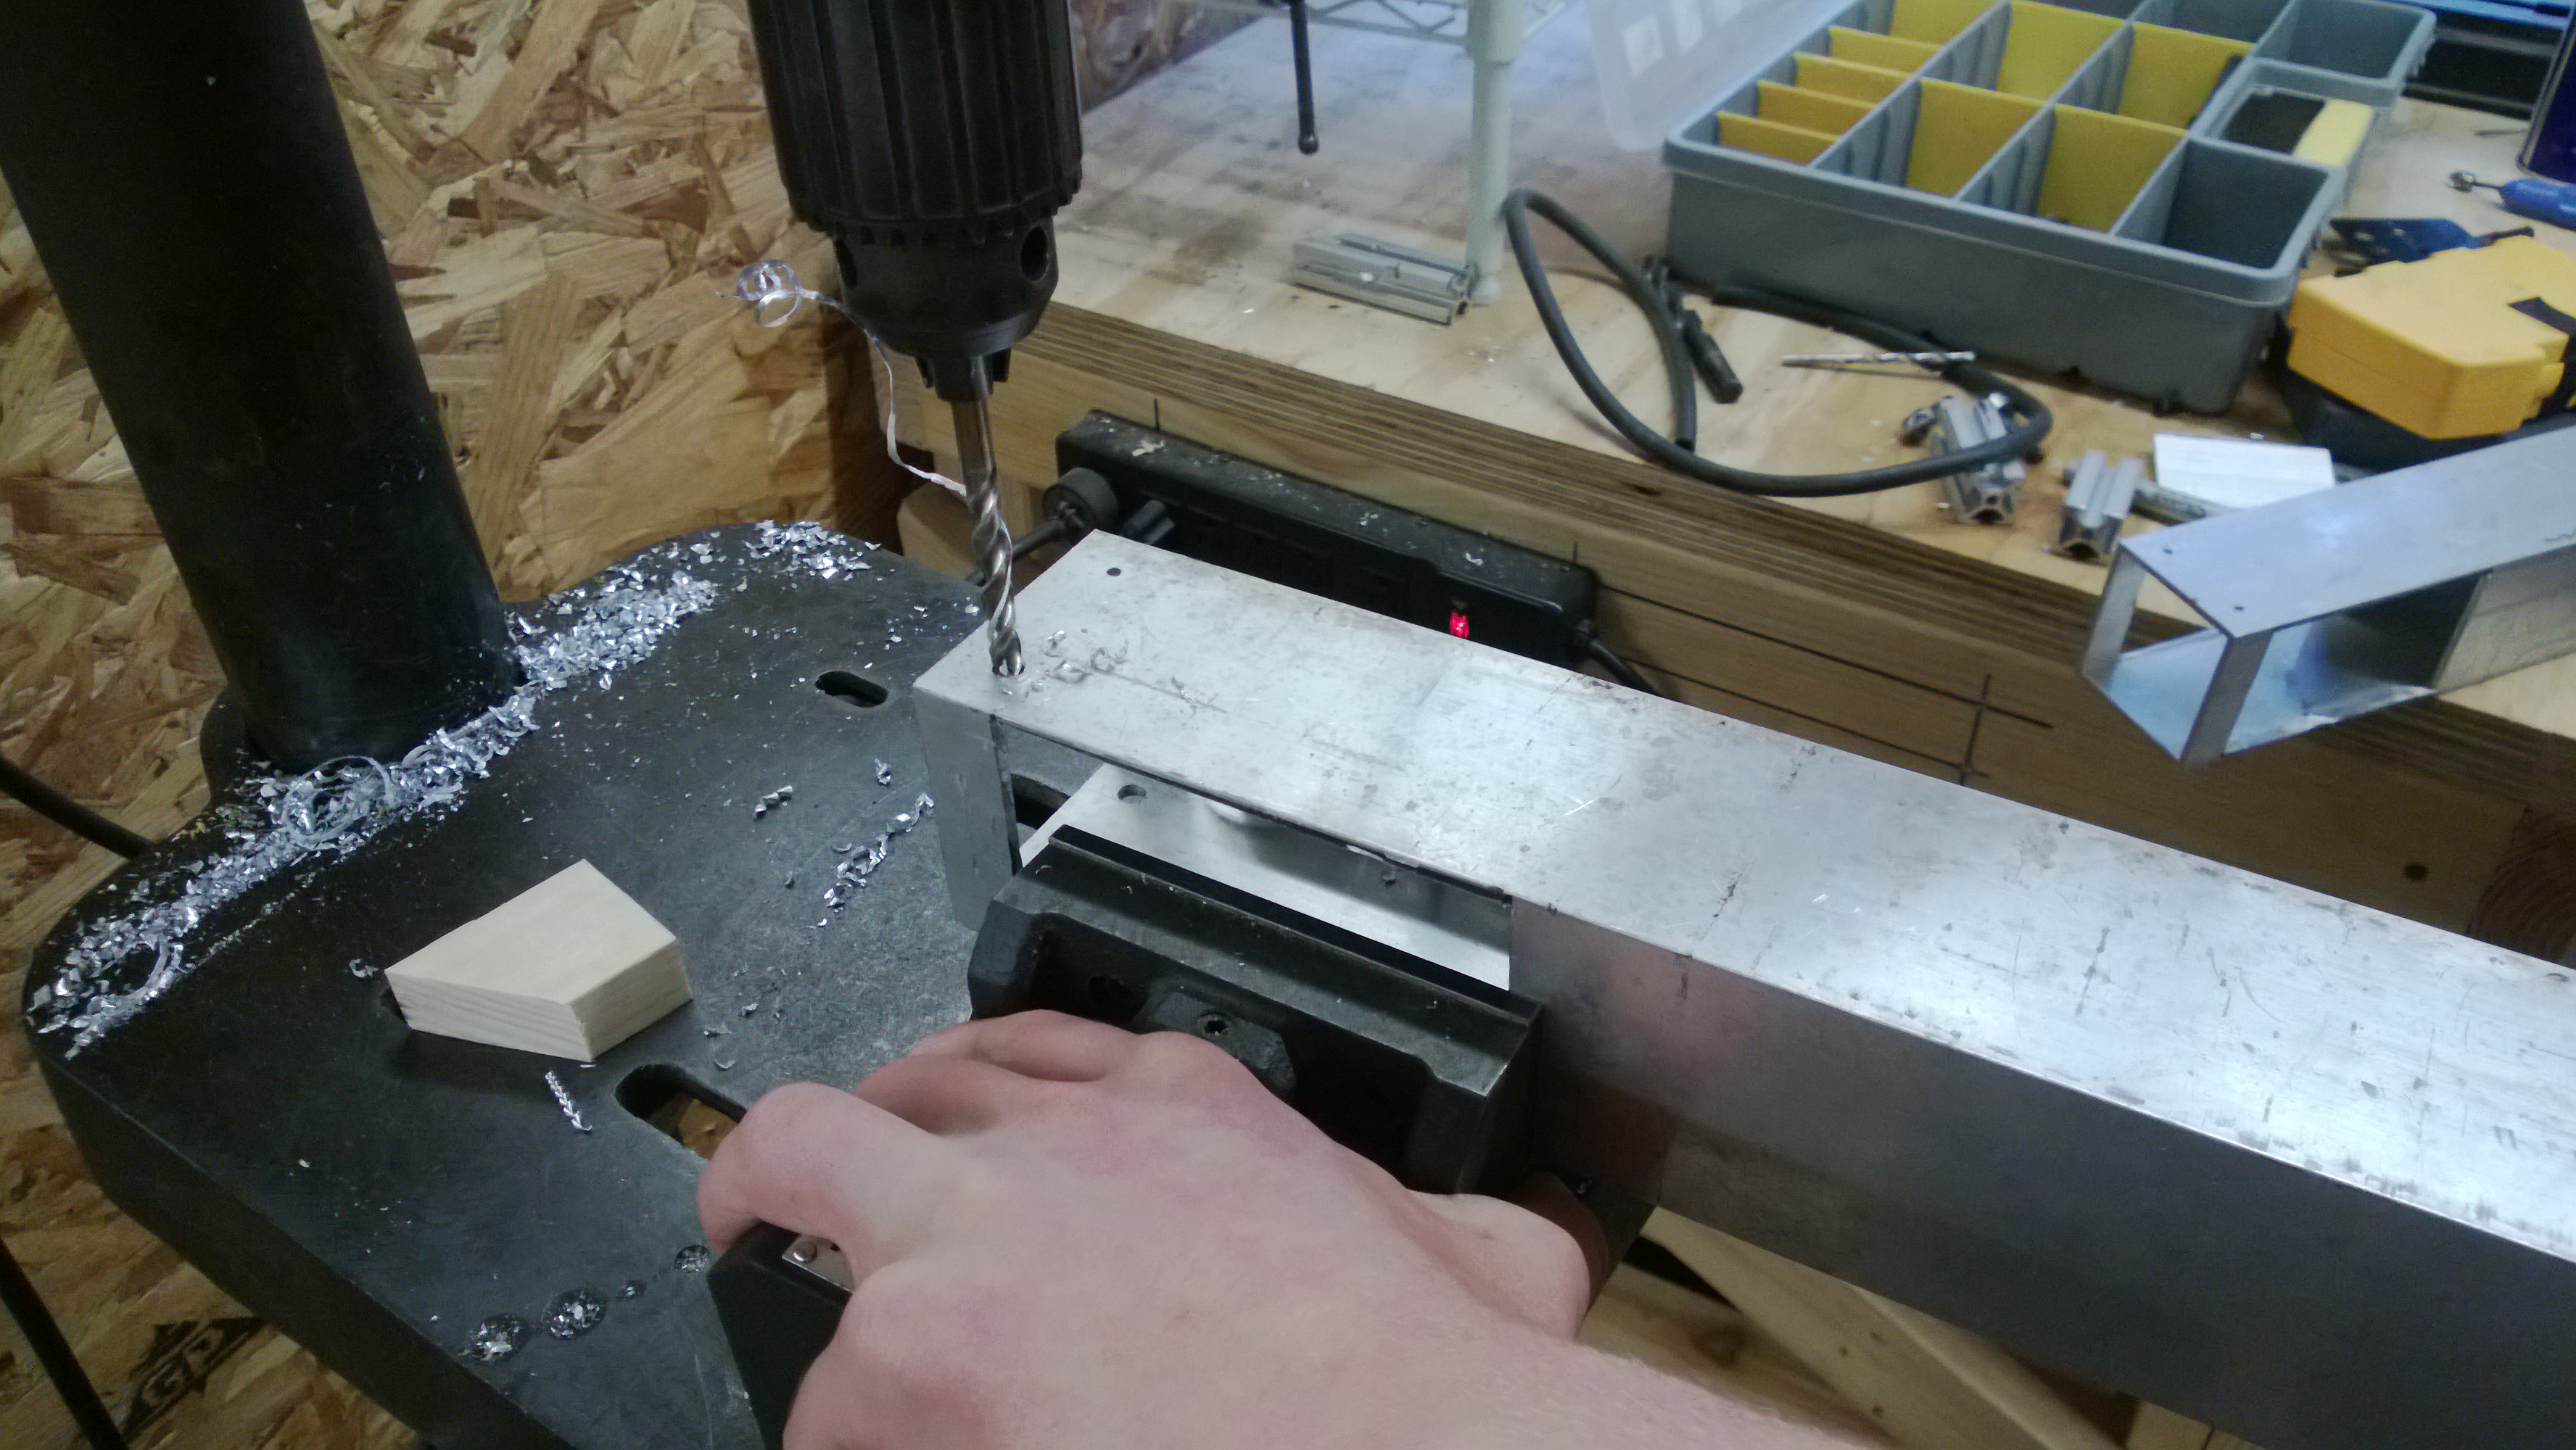
drilled and tapped the mounting holes…
cut the other frame pieces, assembled them, added wheels
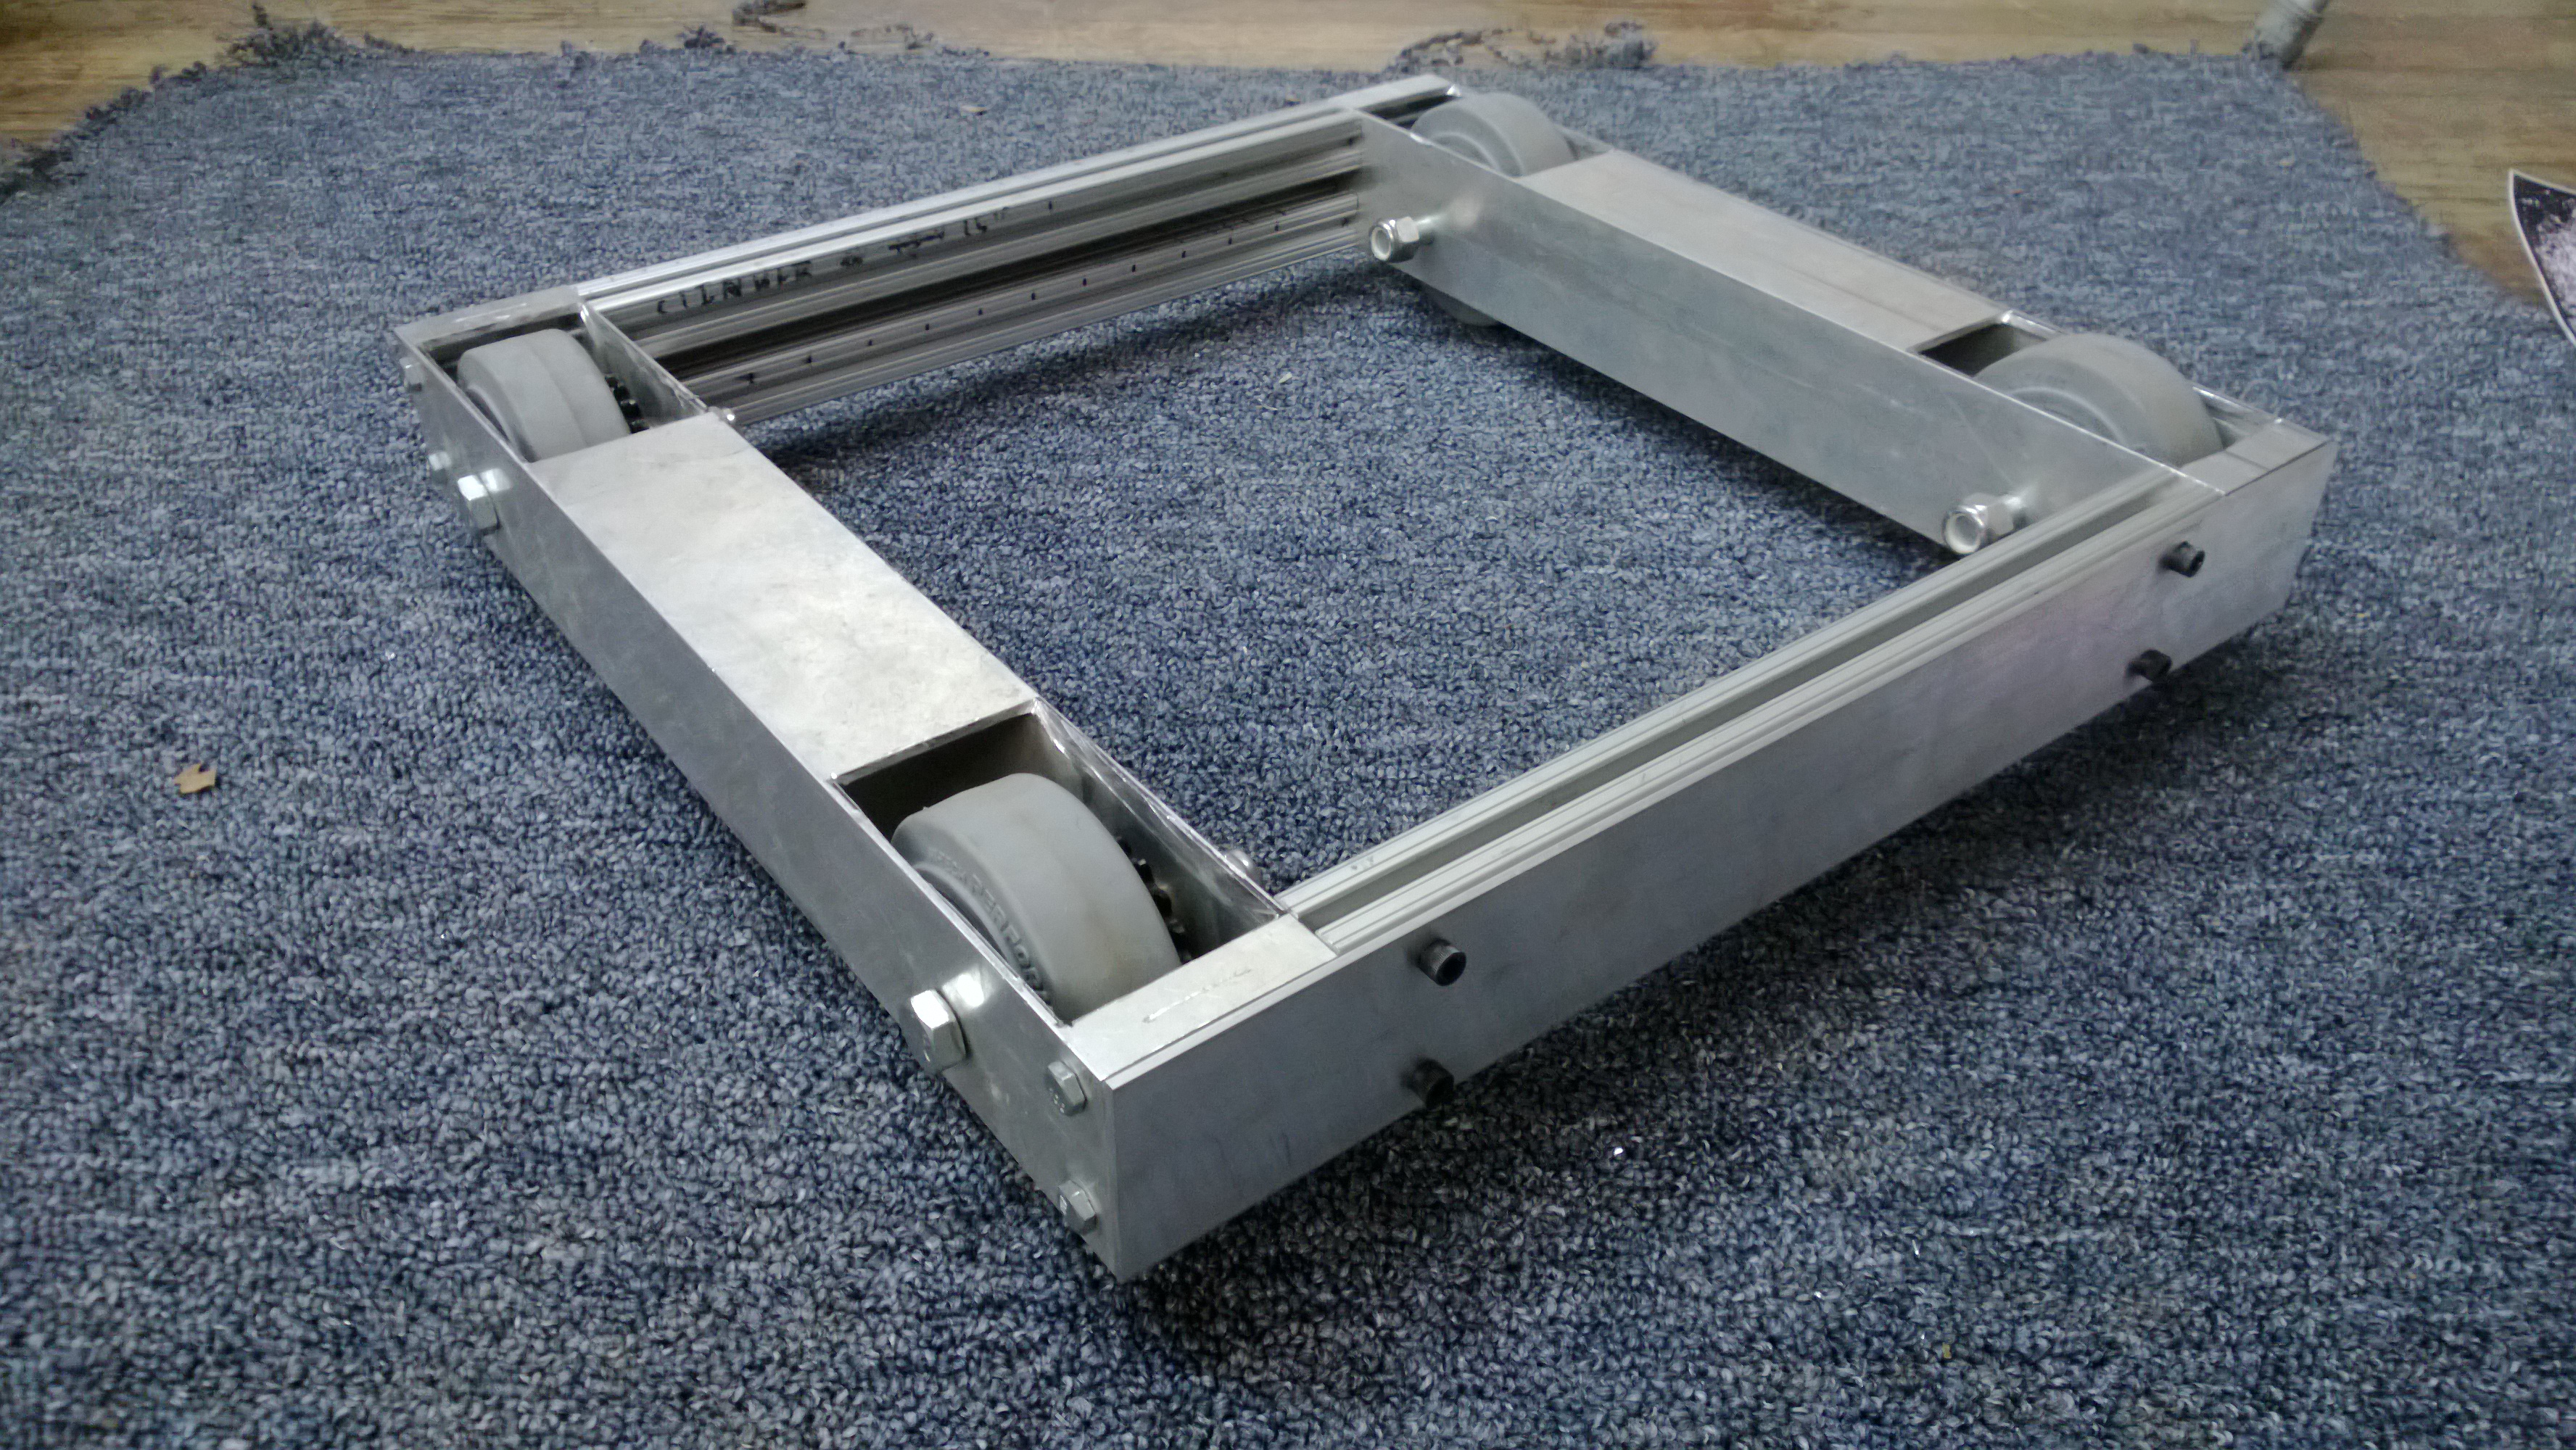
Things left to do
- mount the motors and chain
- make/mount the top and bottom plates
- mount the arm on the drivebase
- add electronics
- wire it
- paint it
- make Ben program it
It should be driveable by tomorrow

HI, Alex.
This blog is wonderful! I am thoroughly enjoying the mix of narrative and great photos, as both allow me to watch the progress as it unfolds. Going from design to concept to the build is very exciting. I can’t think of a better way for you to fill every day. You are in your element!
Can’t wait to read more. What a great project!
Karen Gallagher
Hi Alex,
There is a company in west chester that might do waterjet cutting for you for low or no cost because it is a school project. Let me know if you have more to do. Very nice looking design. Congrats. michaelking73@gmail.com mechanical engineer